Connector
A connector joins electrical parts, allowing easy connection and disconnection of circuits. It serves as a termination point in the harness. Connectors can be assigned a Connector Part.
The following parts can be assigned to a Connector:
- Contact Part - Connectors can have multiple cavities, and each cavity can be assigned a contact.
- Lock Part - Some connectors require a lock to secure the contacts in place.
- Dust Cover Part - A dust cover can be added to connectors to protect the contacts when unmated.
- Boot Part - A boot, which is soft, mounts to a connector for strain relief and sealing.
- Backshell Part - A backshell, which is rigid, mounts to a connector for strain relief and sealing.
Adding a Connector
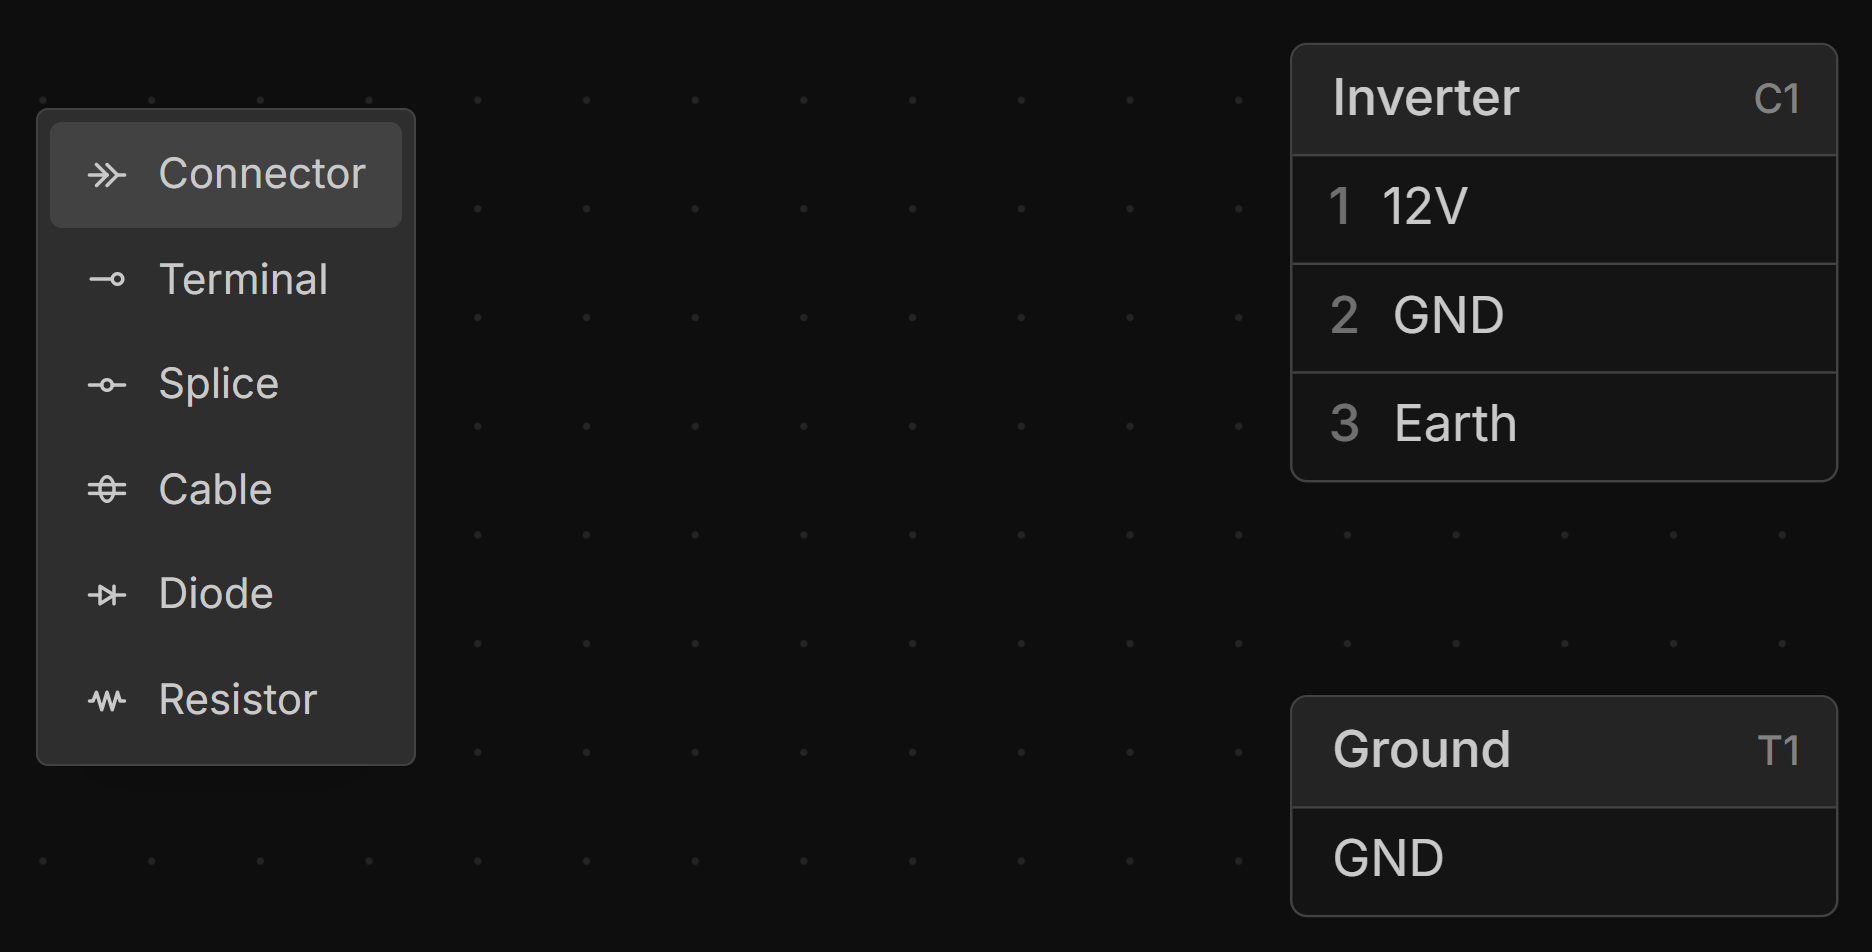
Right-click on the canvas in the Schematic or Layout view and select Connector.
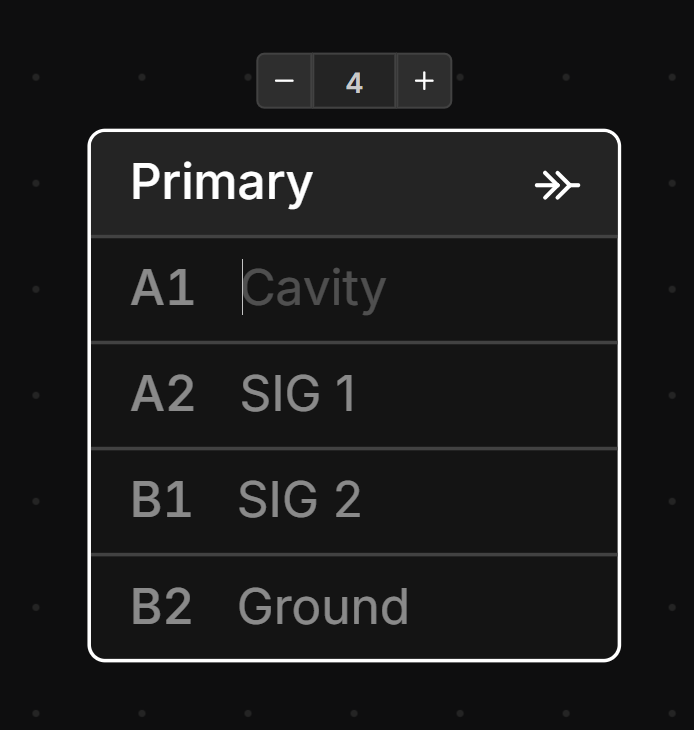
Adding and Removing Cavities
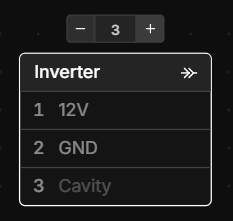
Select a connector in the Schematic view, then click the + or – buttons to add or remove cavities. Type in the number of cavities you want directly into the cavity count box to quickly set the number of cavities.
Reordering, Inserting and Deleting Cavities
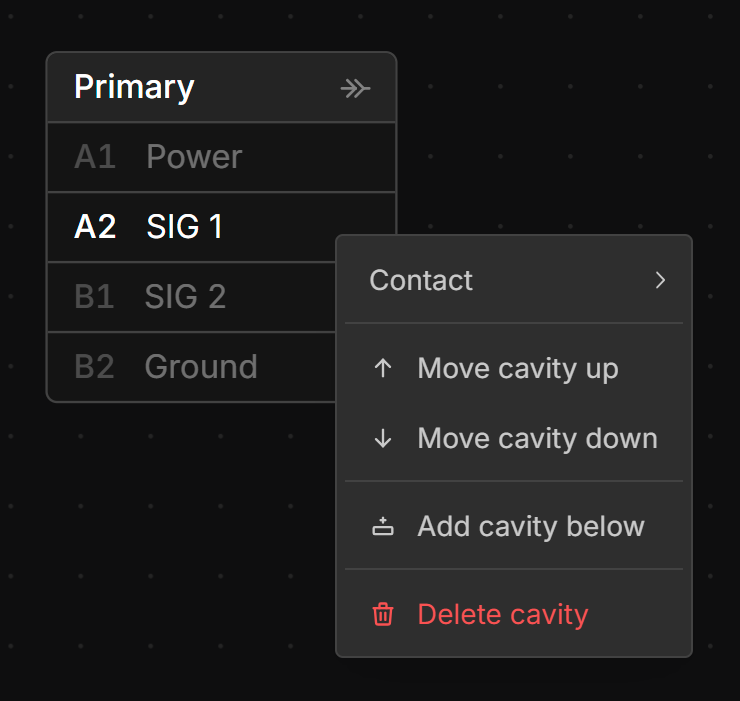
Right-click on the cavity you want to reorder and select Move cavity up, Move cavity down, Add cavity below or Delete cavity.
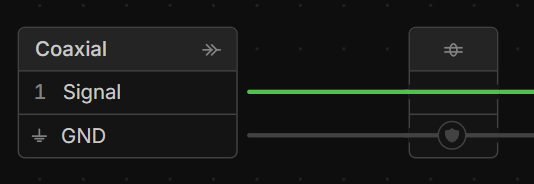
Connecting to Shell of Connector
Right-click on the connector and select Add Shell
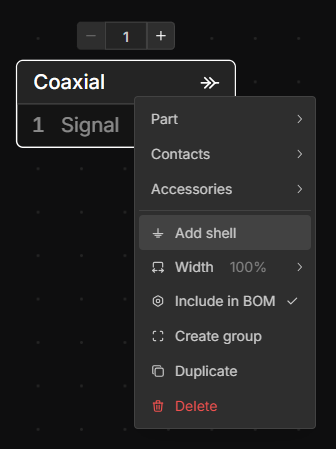
Shells can be connected to just like cavities.
Editing Connector, Cavity Number and Cavity Labels
Double-click any Connector, Cavity Number or Cavity Label to edit it. Pressing “Tab” will move to the next label, pressing “Shift + Tab” will move to the previous label.
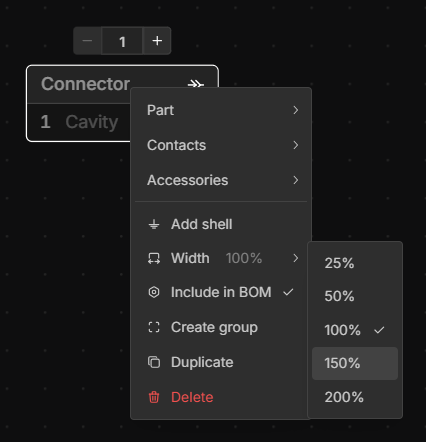
Adjust View Width of Connector
If the name or cavity labels are too long to fit, right-click the connector, select Width, and set the desired width.
Adding Inline Connector
You can add inline connectors by selecting the wires you would like add the inline connectors to, right-clicking, and selecting Add inline connectors.
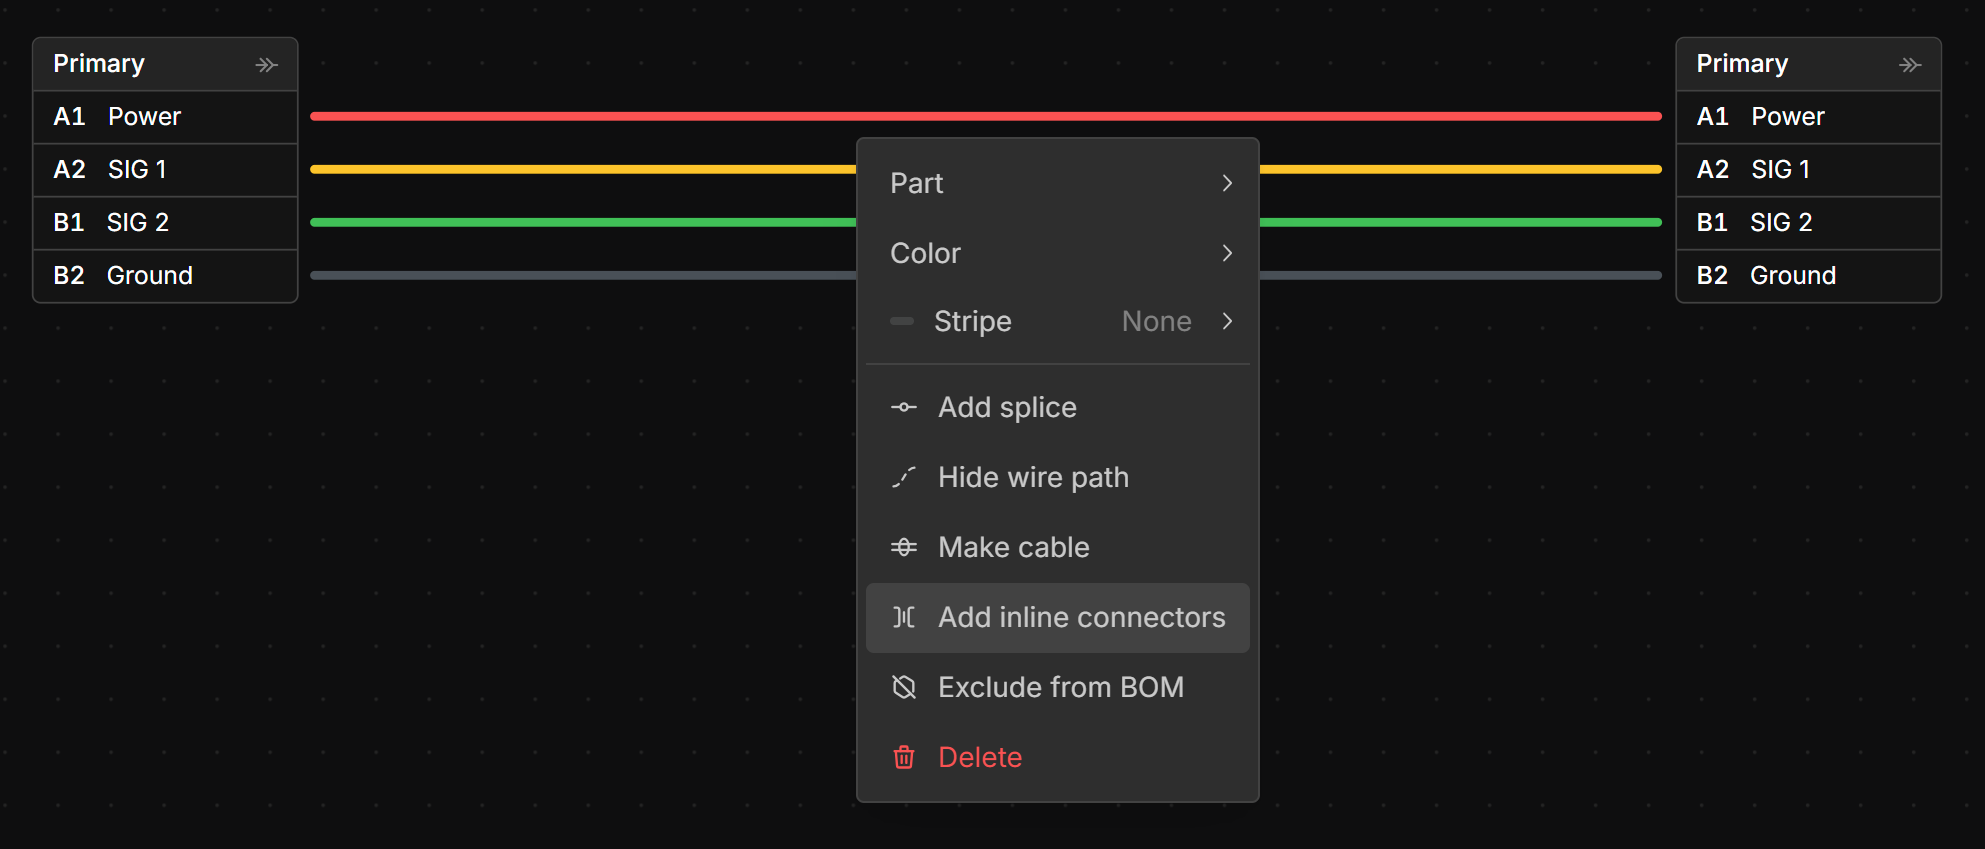
This will add inline connectors to all selected wires.
