Parts
Parts are the physical items used in the harness—such as connectors, cables, and coverings. They are created and managed in the Parts View.
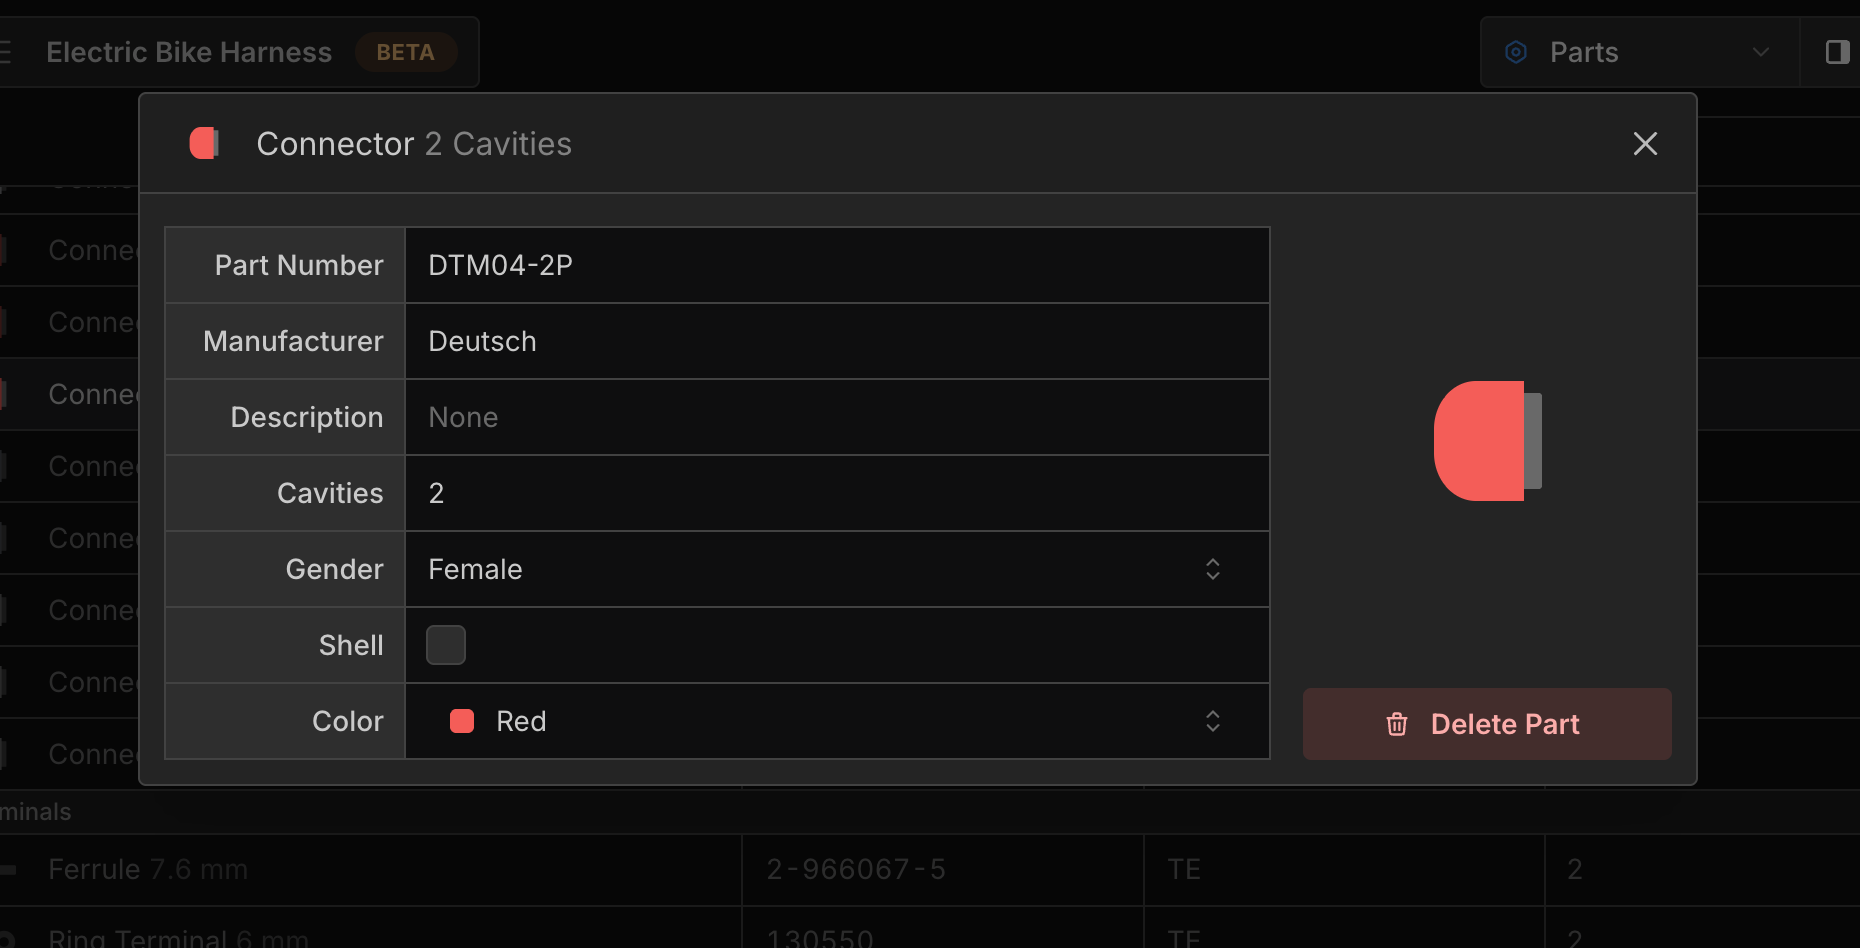
Each part can have specific properties like part number, manufacturer, colour, and more. Parts are assigned to components, and once assigned, relevant properties are automatically validated. For example, a connector part must have the same number of cavities as the connector component it is assigned to.
Adding Parts
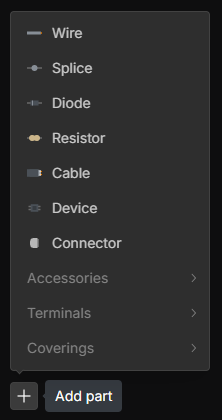
In the Parts View, right-click on the canvas or click the + button in the bottom-left corner to add a new part.
Creating Part from Component
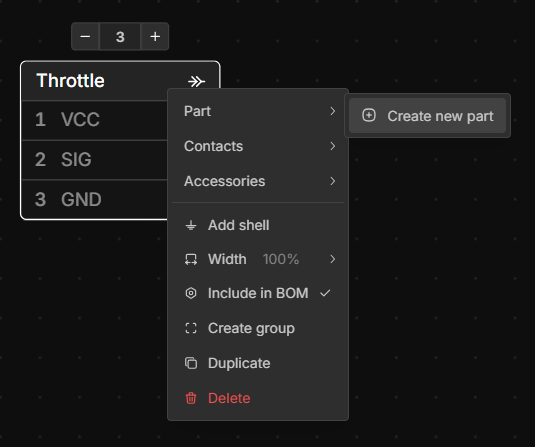
Parts can be created by right-clicking a component in the Schematic or Layout View and selecting Part → Create New Part.
Importing Parts
You can import parts from any of your existing projects by using the Import Parts button in the Parts View.
Select the project you want to import from, then choose the parts you want to import. The selected parts will be added to your current project. This will not affect the original parts in the project you are importing from.
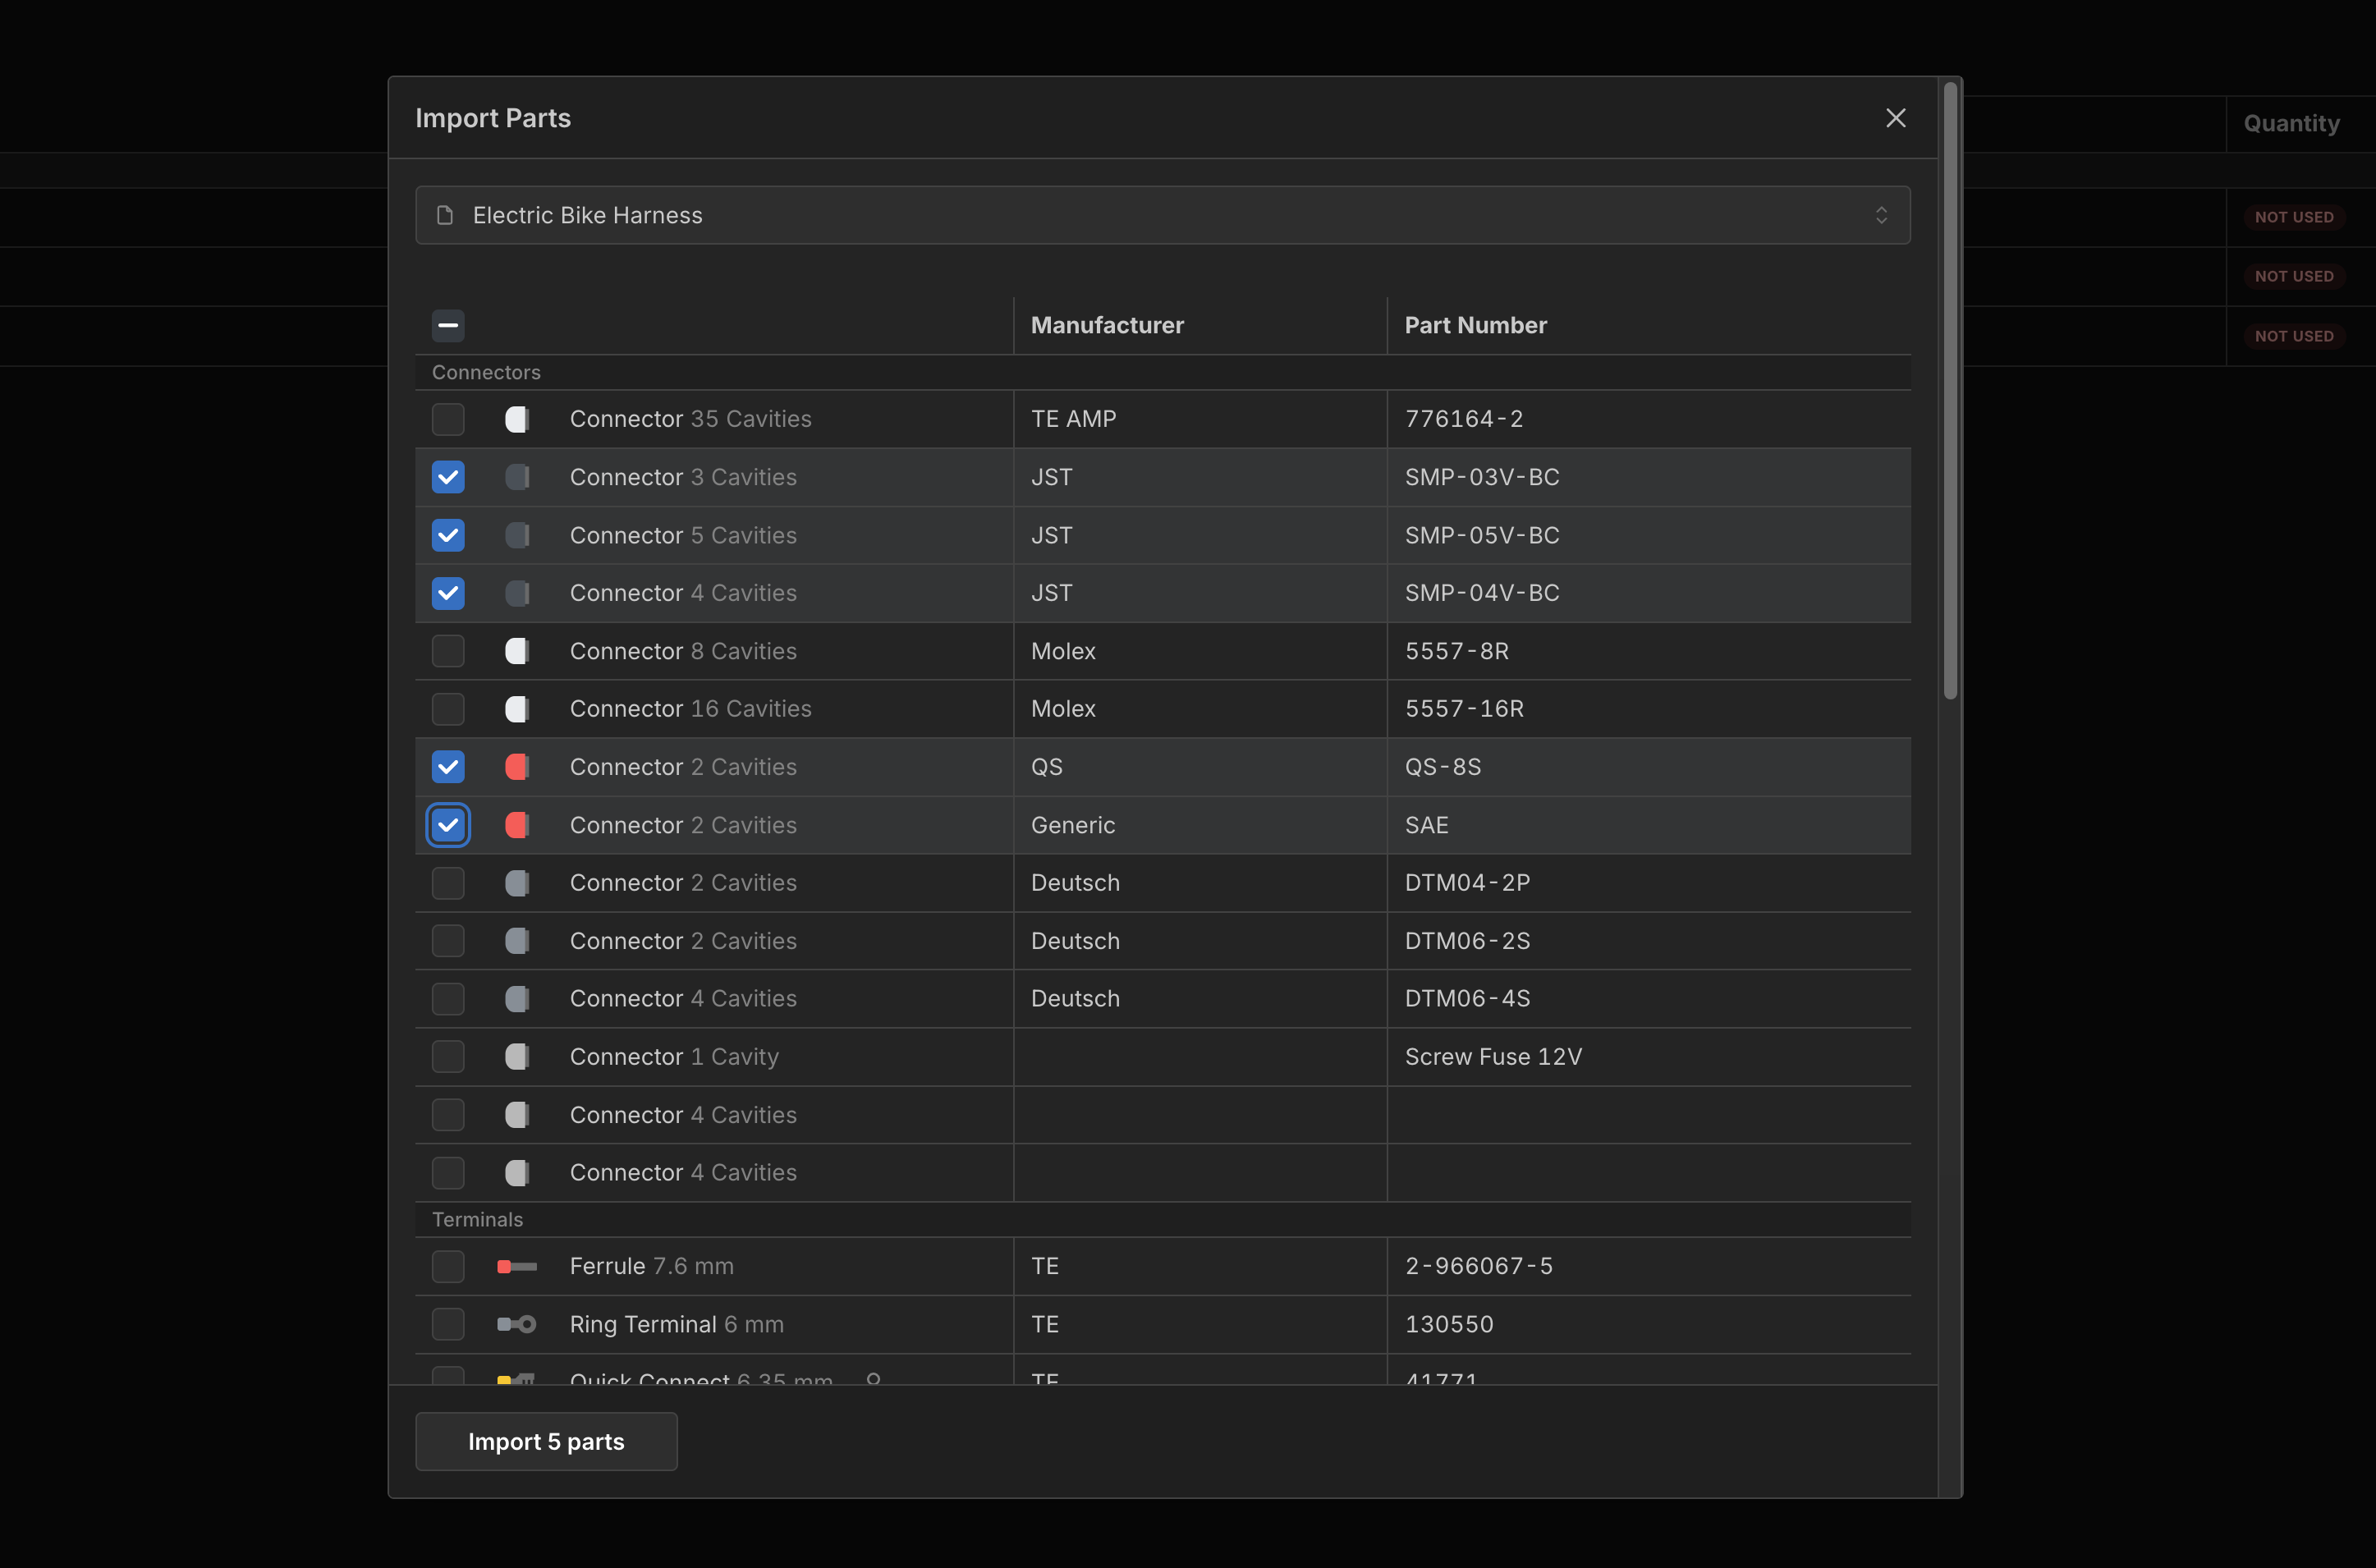
You will see a warning if any part numbers of the imported parts conflict with existing parts.
Editing Parts
Double click on a part name or click the Edit button to view and edit a part’s properties.
Assigning Parts
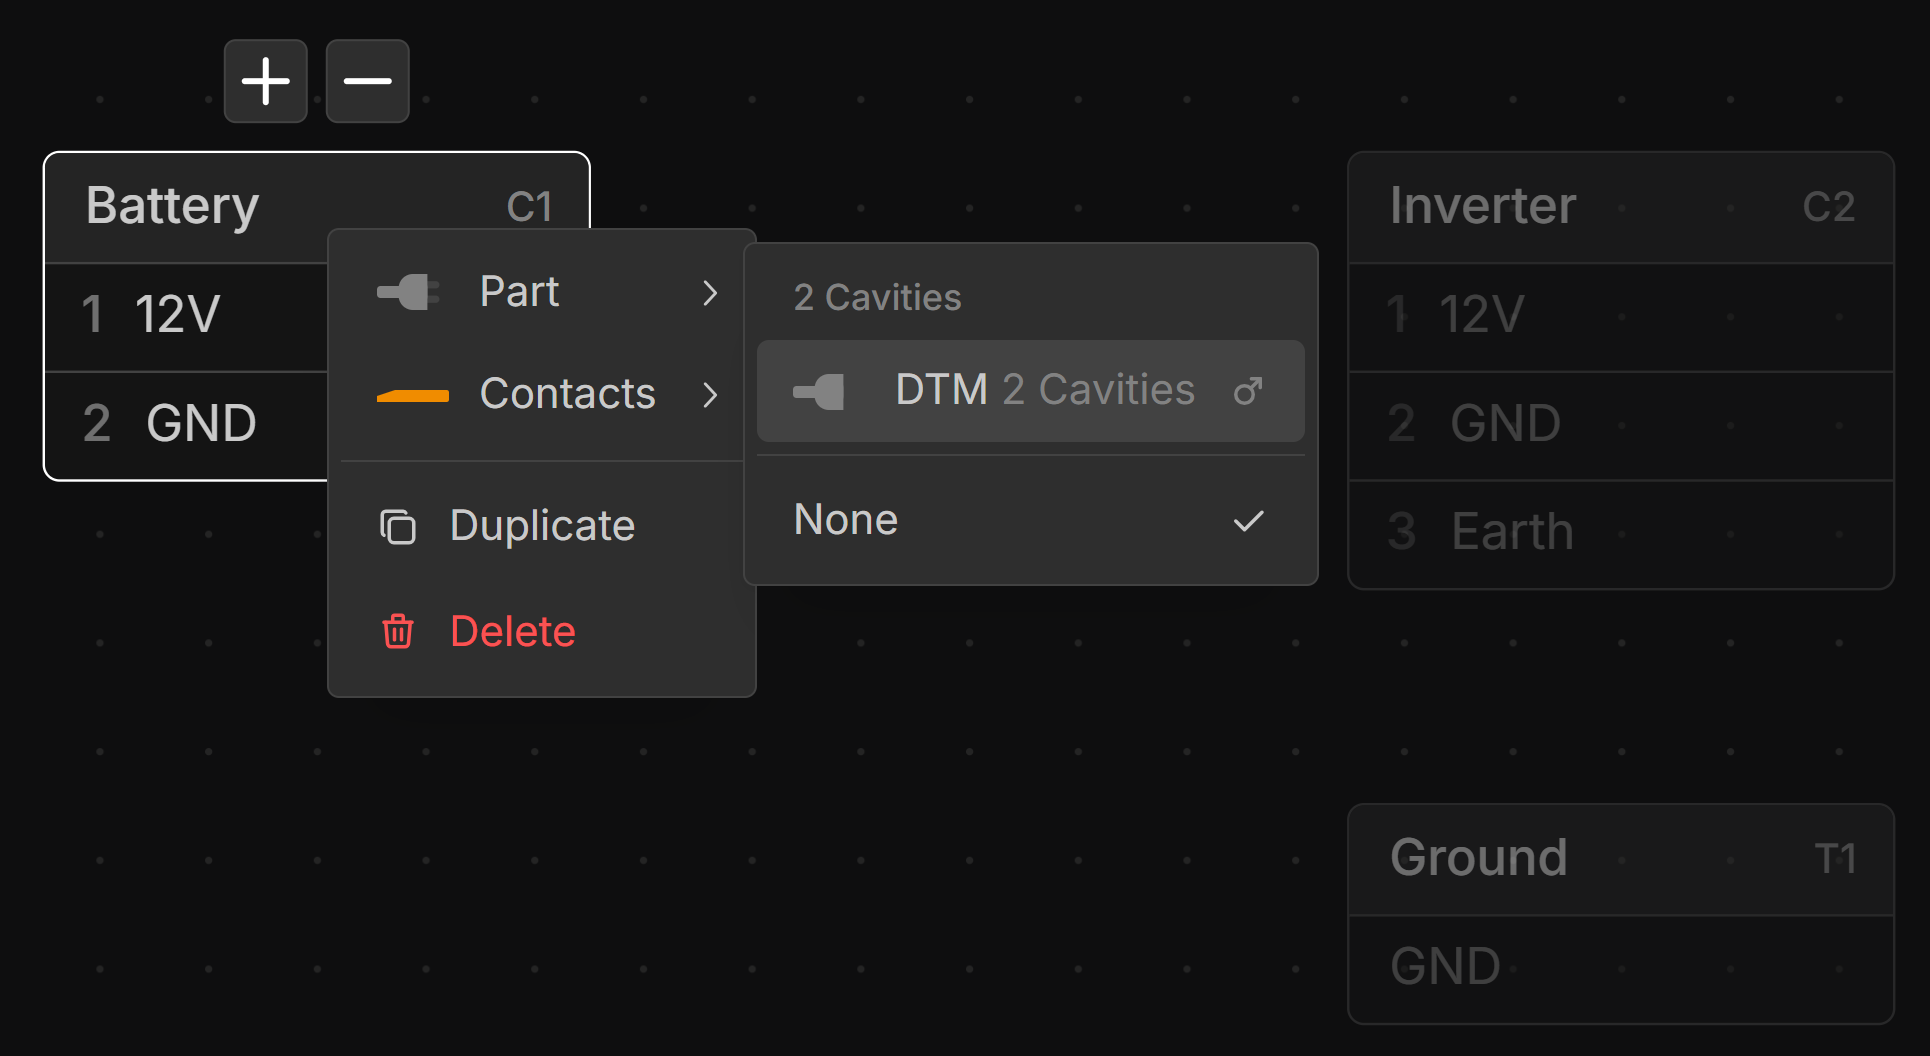
Parts are assigned to components in the Layout or Schematic view. Right-click a component, then select the appropriate part from the list.
Removing Parts from BOM
Parts can be removed from the BOM by right-clicking a component in the Layout or Schematic View with a part assigned and deselecting Include in BOM.

Unassigned Parts
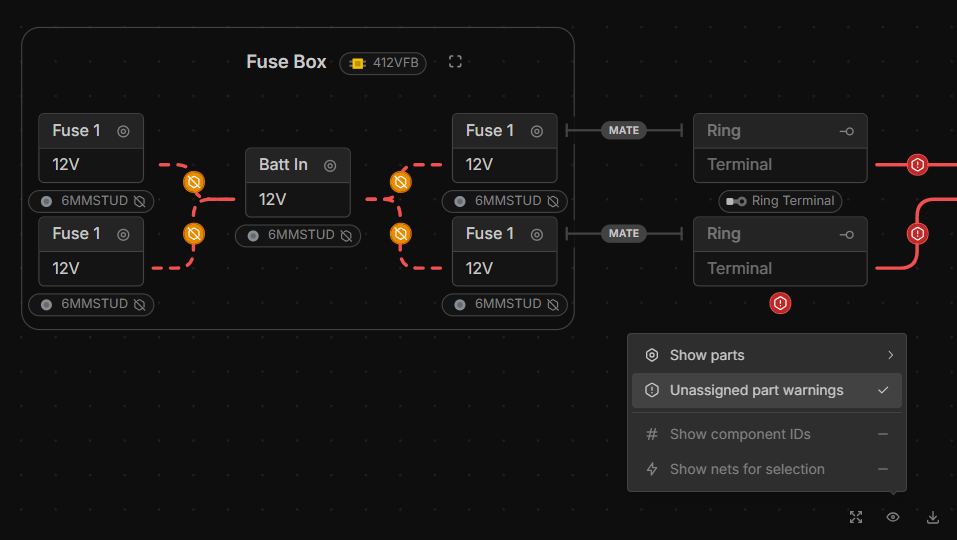
To show components with unassigned parts, in the View Options at the bottom right of the Layout and Schematic Views select Unassigned part warnings.
- Red warning symbol: No assigned part
- Orange warning symbol: No assigned part (Excluded from BOM)