Wire
A Wire represents an electrical connection between two components in the harness. Each wire can be assigned a wire part.
Adding a Wire
In the Schematic View, left-click-drag from the connection handle of one component to another to create a Wire.
Assigning Color
If no part is assigned to a Wire, you can manually set its color. right-click the Wire in the Schematic, Layout, or Conection view and choose a Color from the Color menu. More colors can be selected by clicking More at the bottom of the color list. The Stripe color can be assigned in the same way.
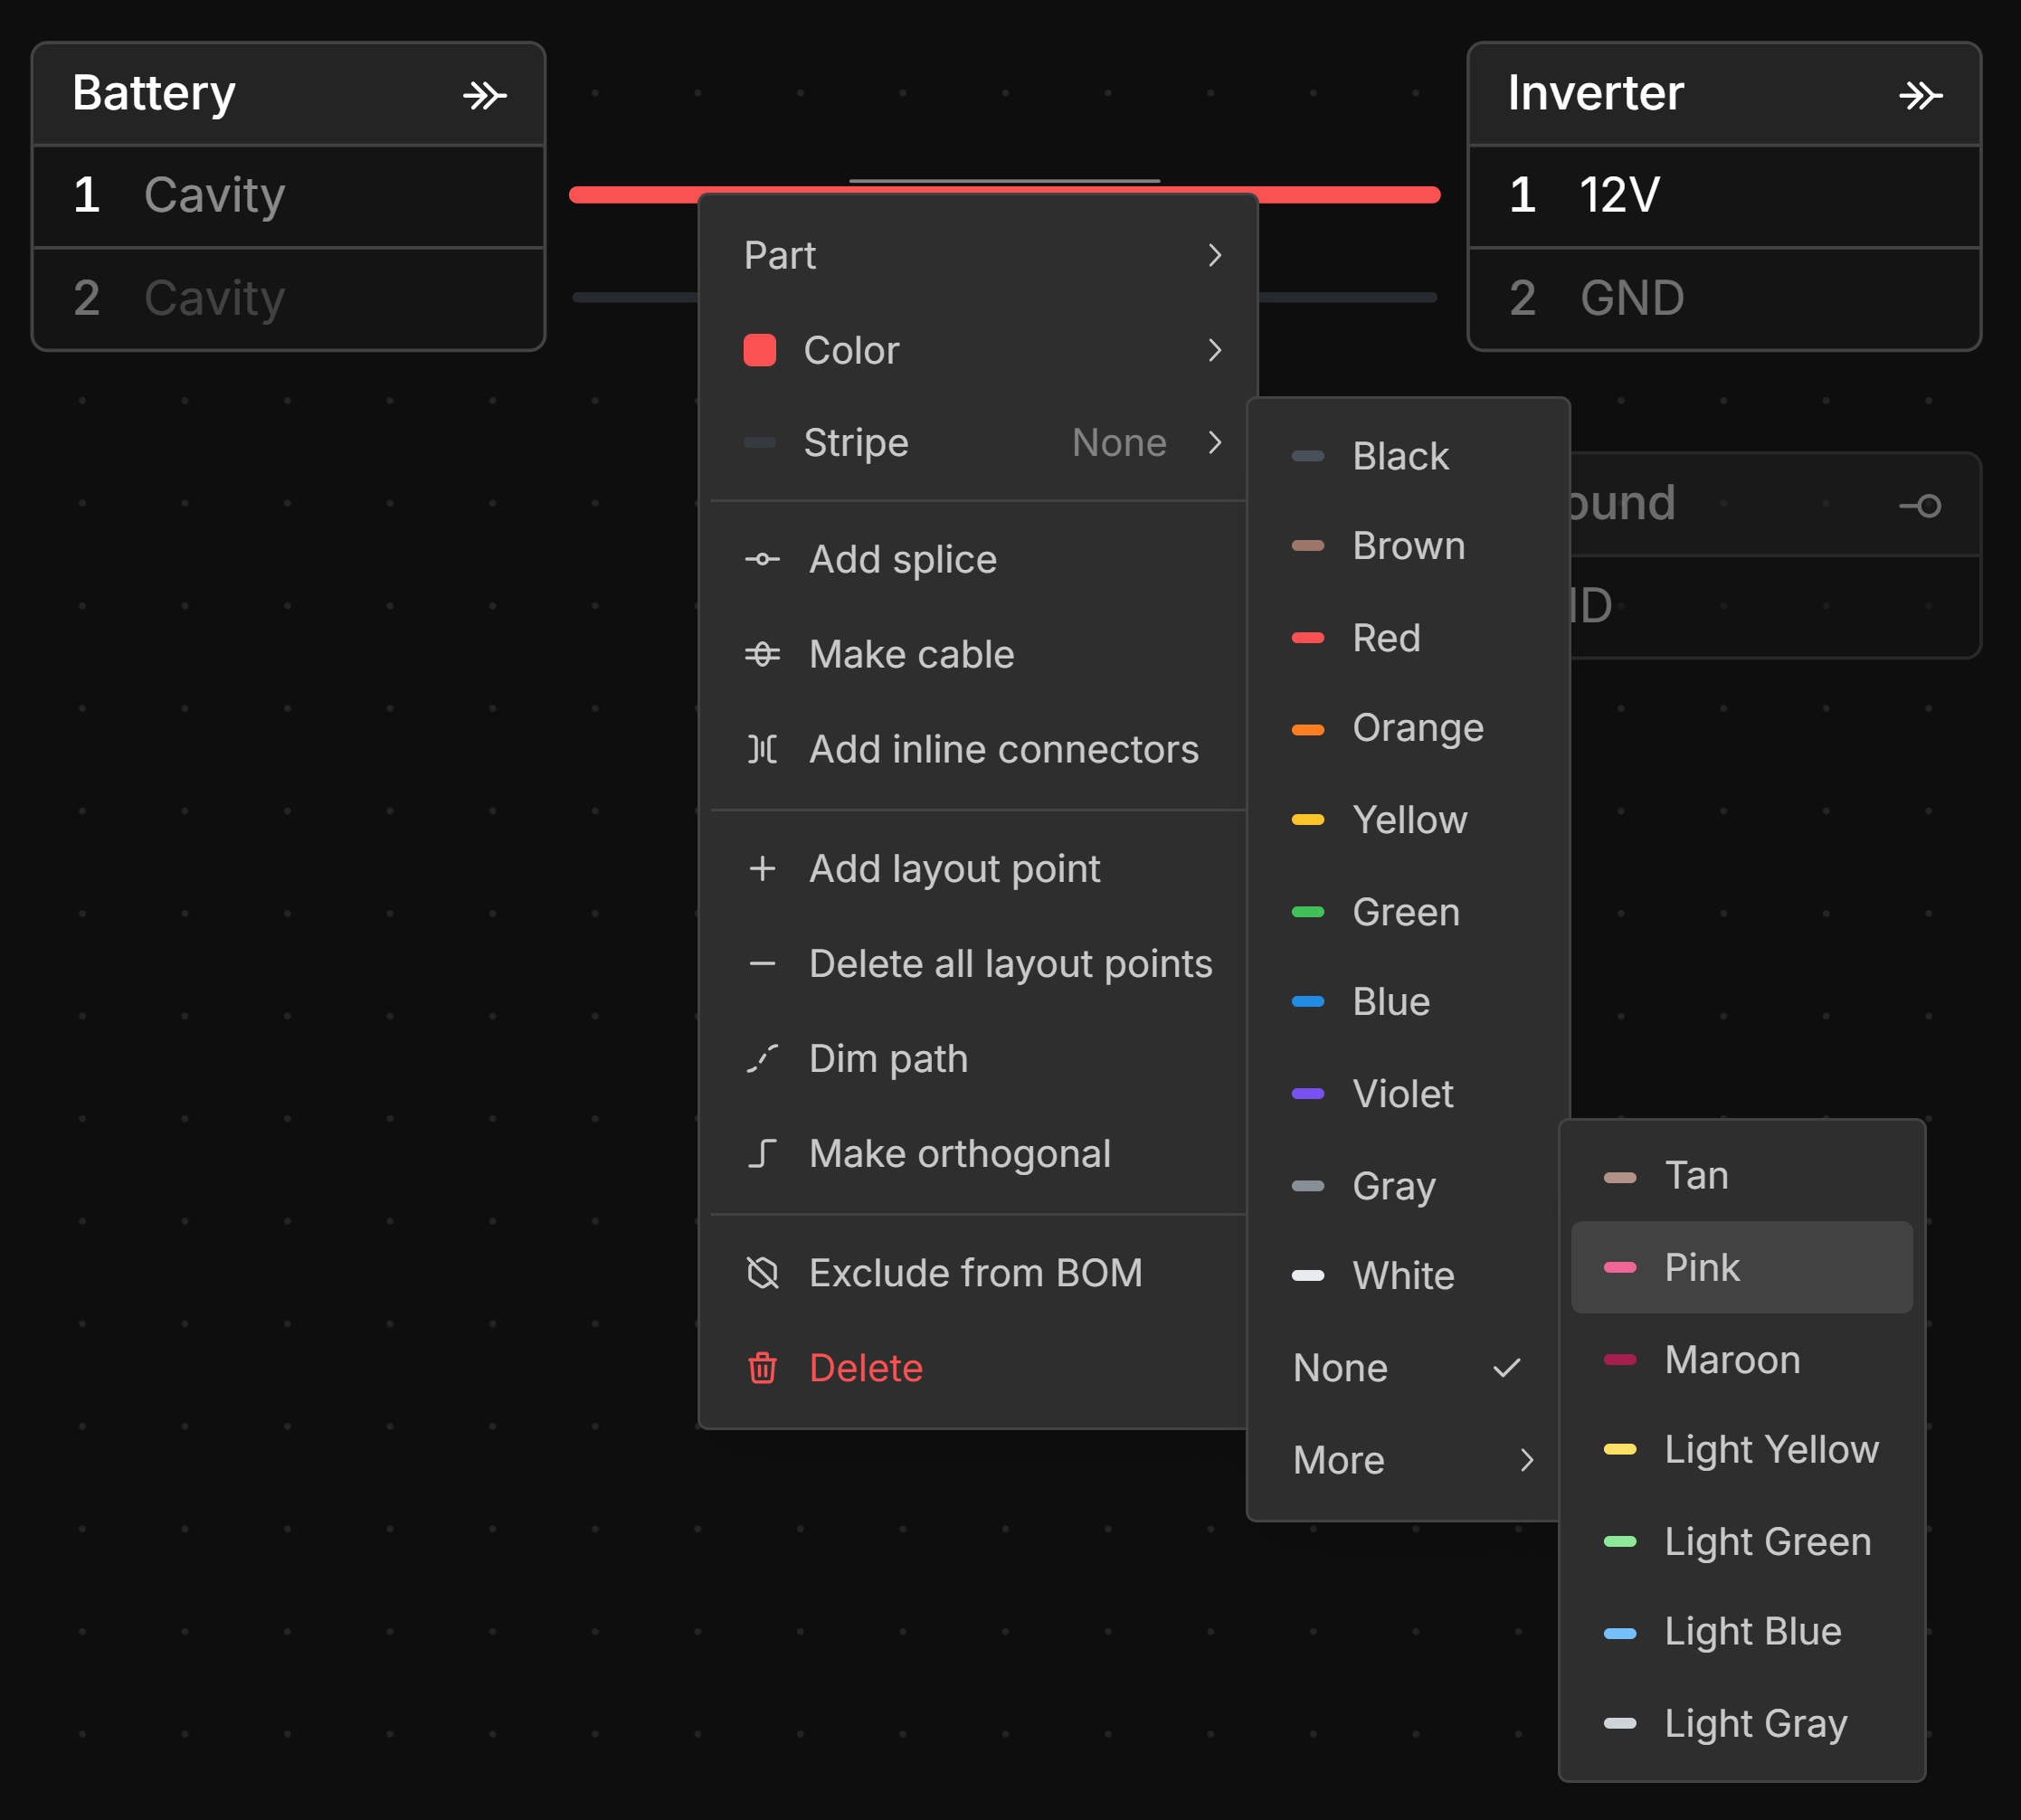
Wire stripe style can be changed under Main Menu → Preferences. Click here for more information
Assigning Idents
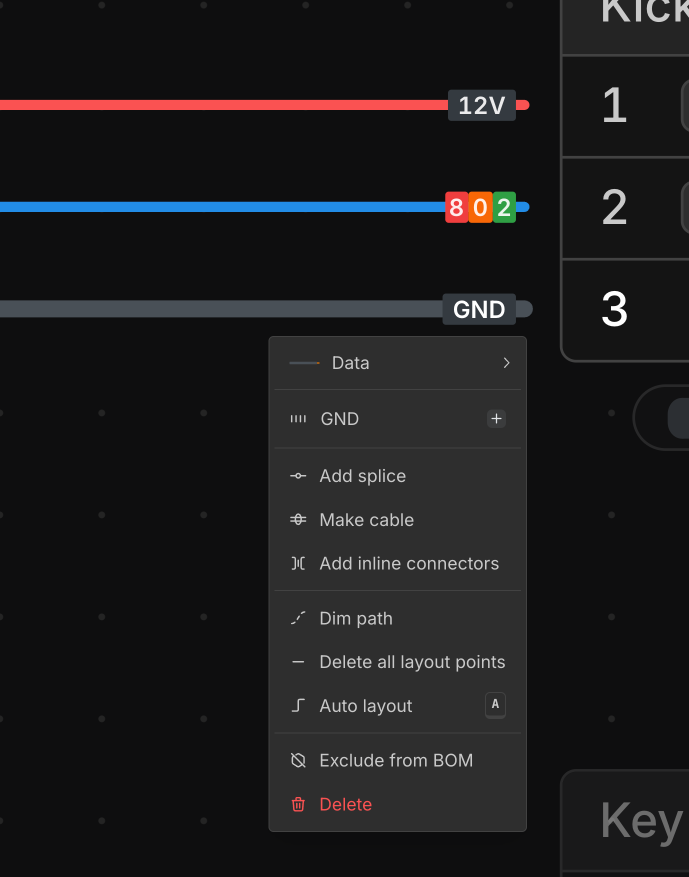
To add a color Ident band to a Wire, right-click the wire and then click the button next to Ident. You can add multiple color Ident bands to a Wire and they will be displayed in the order they were added. To remove a color band, right-click on the wire and then click the color square for that Ident.

To add a label ident to a Wire, right-click the Wire and then click on the Ident placeholder text in the menu.
The label background color can be set by adding a color ident with the button. If the number of color idents matches the number of characters in the label, each character will be displayed with a background color corresponding to the color ident.
Adjusting the Wire Path
You can set a custom path for a Wire using Layout Points.
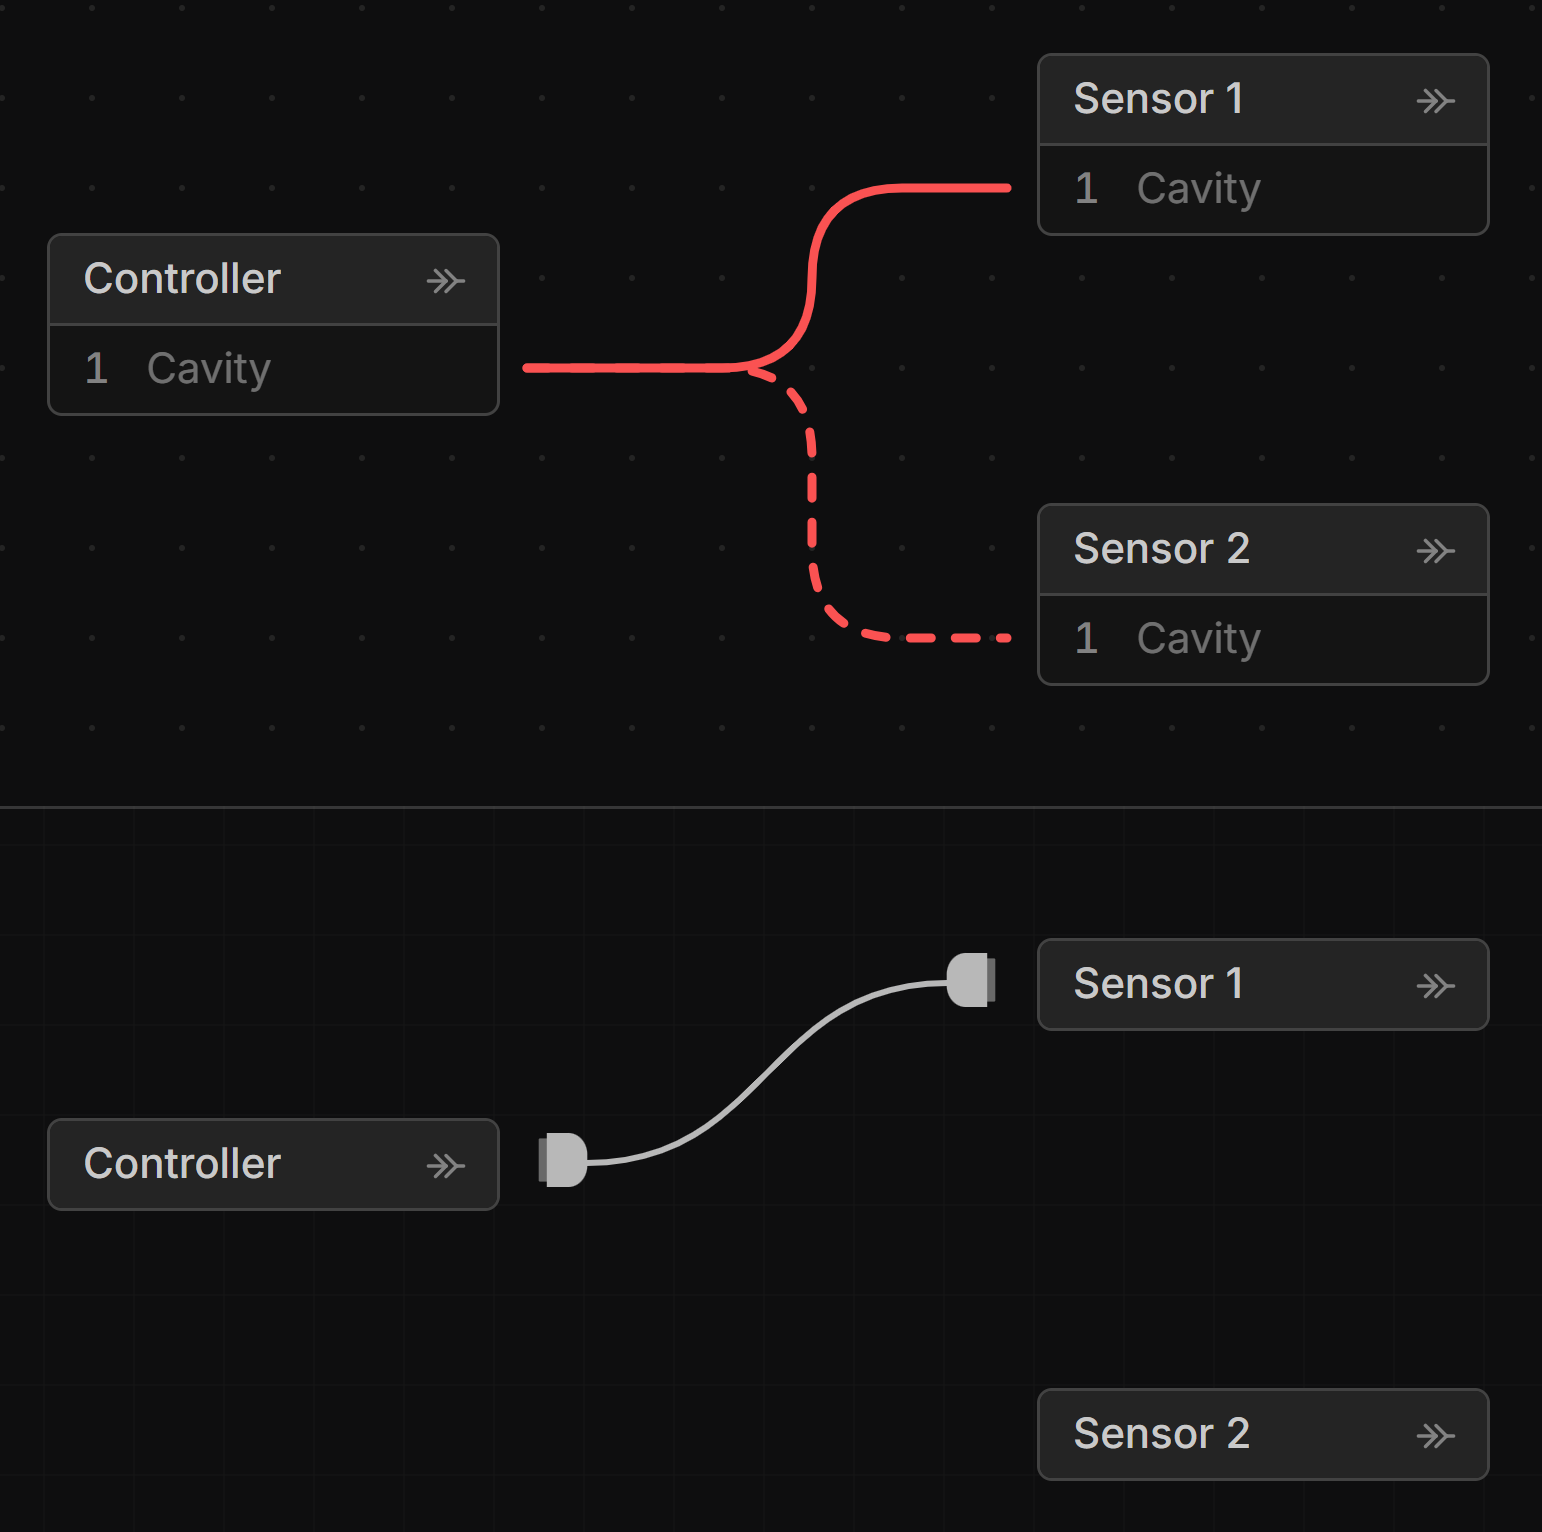
Dashed Wires
Wires can appear as dashed lines in the Schematic view when they are not yet routed through a Bundle in the Layout view.
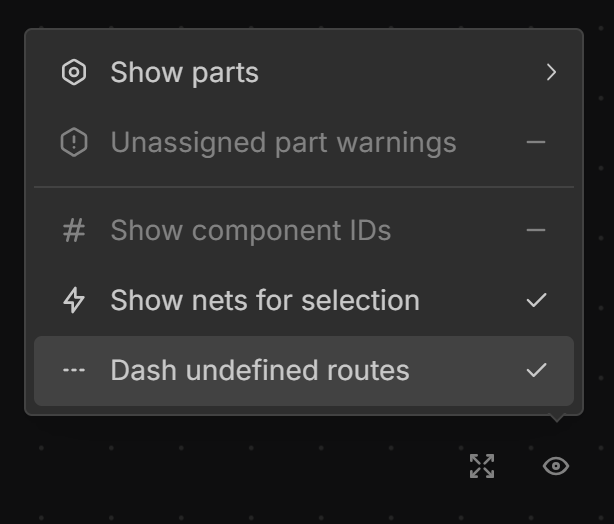
To hide dashed lines deselect Dash undefined routes in the View options menu in the bottom right corner of the Schematic view.
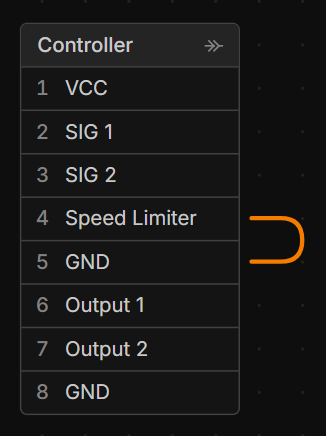
Jumper Wire
A Jumper Wire (loopback wire) can be created by left-click-drag from one cavity to another within the same connector in the Schematic View.
A Jumper Wire is considered to have a length of zero. You may need to account for this when generating length reports.