Cable
A Cable is a group of individual wires—called cores—wrapped in a sheath.
Cable parts can be assigned to cables created in the Schematic View.
Adding a Cable
right-click on the canvas in the Schematic View and select Cable to add a new cable.

Create a Cable from Wires
Select multiple wires, right-click, and choose Make cable. This creates a cable with a core for each selected wire.

Creating Cable Connections
left-click-drag from a component’s connection point to one of the cable’s cores. Once two components are connected to the same core, a connection is established using that core as the conductor.
To move a core’s connection to a different cavity or terminal, hold ⌘ (Mac) or Ctrl (Windows) and drag from the cavity or terminal it is connected to. Read more…
Cable Routing
Cables are routed automatically based on connections and bundles. The cable length is determined by its longest core.
A cable whose cores all pass through a bundle is drawn whole, with its jacket and shield, in that bundle’s cross section.

Adding and Removing Cable Cores
Select the cable in the Schematic View, then click the button to add cores, or the button to remove them. Enter the desired number of cores directly into the core count box.

Twisting Cores Together
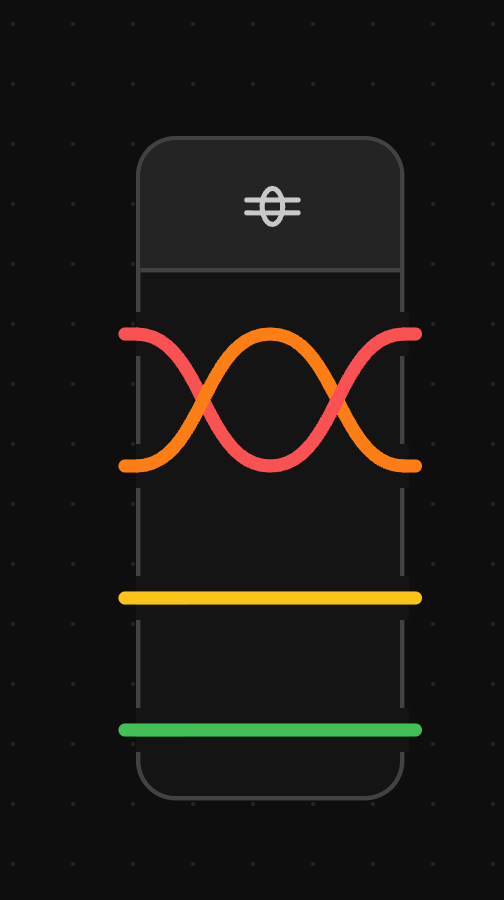
Cores of a cable can be twisted in pairs or triples, like a Twisted Wires component inside the cable. right-click a core and select Twist with core below (or Twist with core above). Consecutive twisted cores form one twisted group, drawn twisted together inside the cable on the schematic and listed in the Twisted with column of the Connections view and wiring table. Select the core again and choose Untwist to separate them. To twist every core of the cable in consecutive pairs at once, right-click the cable itself and select Twist all cores.
When a Cable Part is assigned, the twisting comes from the part’s Twisted core property instead, so every cable using that part is twisted the same way.
Adding a Shield to a Cable
right-click the cable in the Schematic View and select Add Shield.

Shields can be connected to components just like the other cores in the cable.

Labelling a Cable
right-click the cable and type a name into the Label field at the top of the menu. The label is used in place of the cable’s ID wherever it is named, such as in the Connections view and wiring tables, and left-click it on the canvas to change it. A labelled cable’s cores are named after the label, for example Sensor.2. See Labelling Components.