Pinouts
A Pinout is a drawing of a connector housing seen from its mating face: the outline, its keys, and one pin for every cavity in its real position. Place it next to a connector on the Schematic or Layout view to see at a glance which cavity is which, and to check the harness against the connector in your hand.
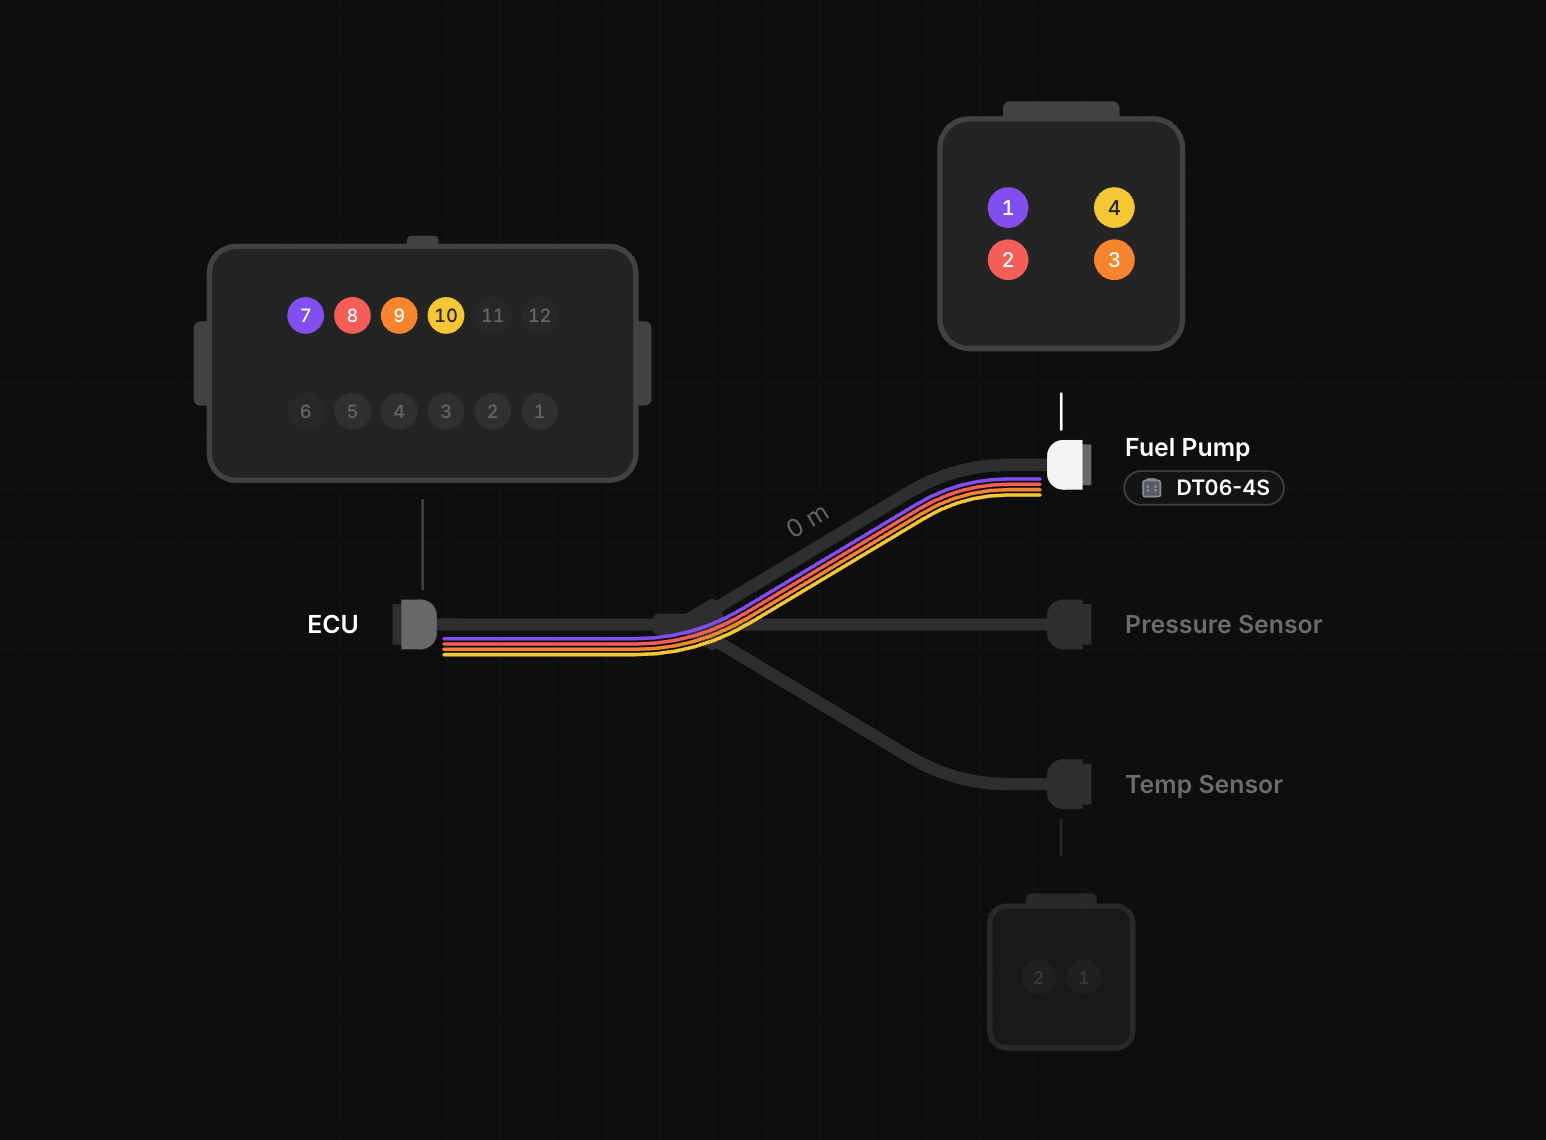
Pinouts come with the connector part. Connectors added from the Parts Catalog bring their pinout with them, and a connector part you created yourself can borrow one from the catalog. The pinout is stored with the part, so it follows the part into part libraries, local .harness files and the PDF export.
Showing a Pinout on the Canvas
right-click a connector on the Schematic or Layout view and select Show pinout. The pinout appears next to the connector, joined to it by a tether line. left-click-drag it to position it.
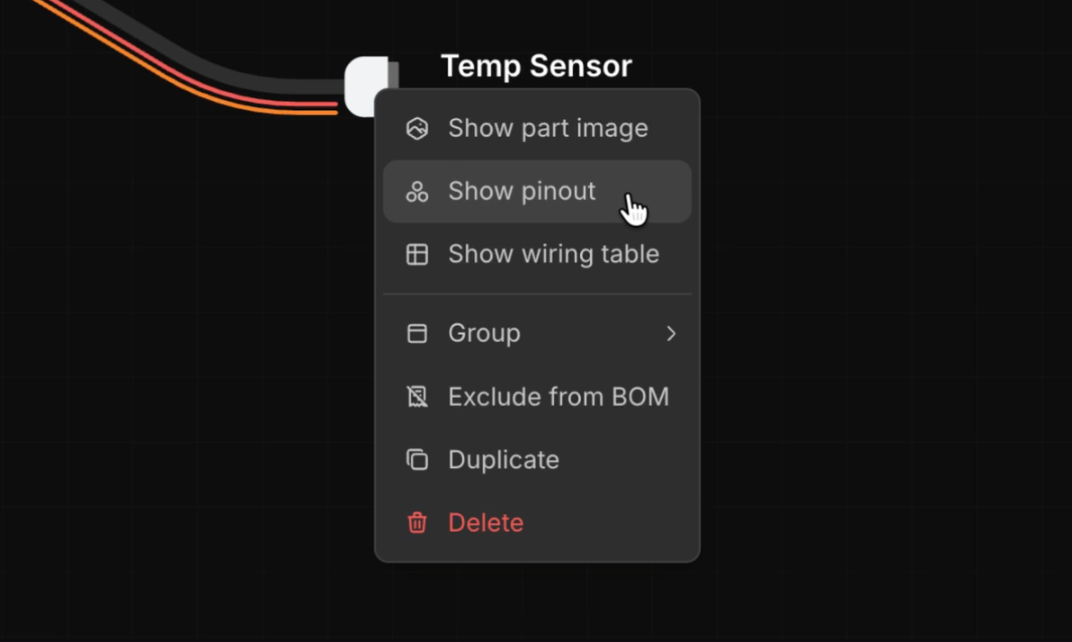
To remove it, left-double-click the pinout, or right-click it and select Hide pinout.
The Show pinout option only appears for a connector whose part has a pinout assigned. Connectors from the Parts Catalog usually include one; for a part you created yourself, assign a pinout first.
Pins and Wires
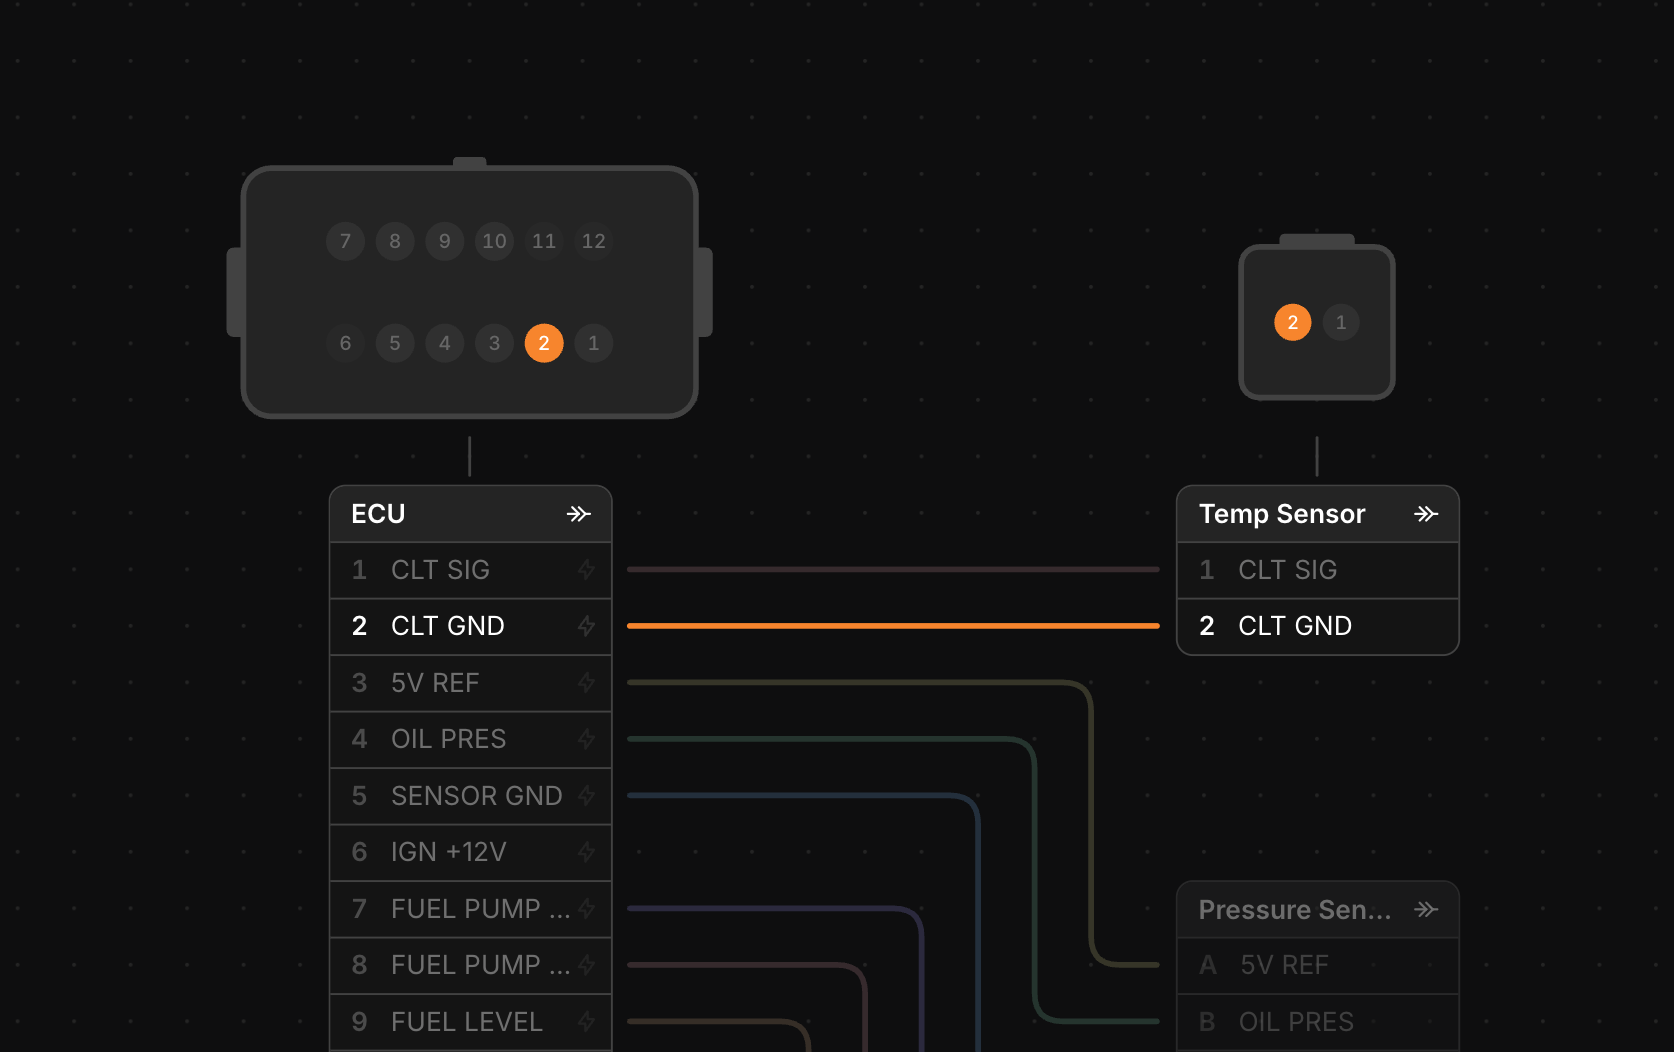
Each pin is one of the connector’s cavities and carries its designation.
Select a wire, and its pin lights up in the wire’s colour; left-click a pin to select that cavity and highlight everything connected to it.
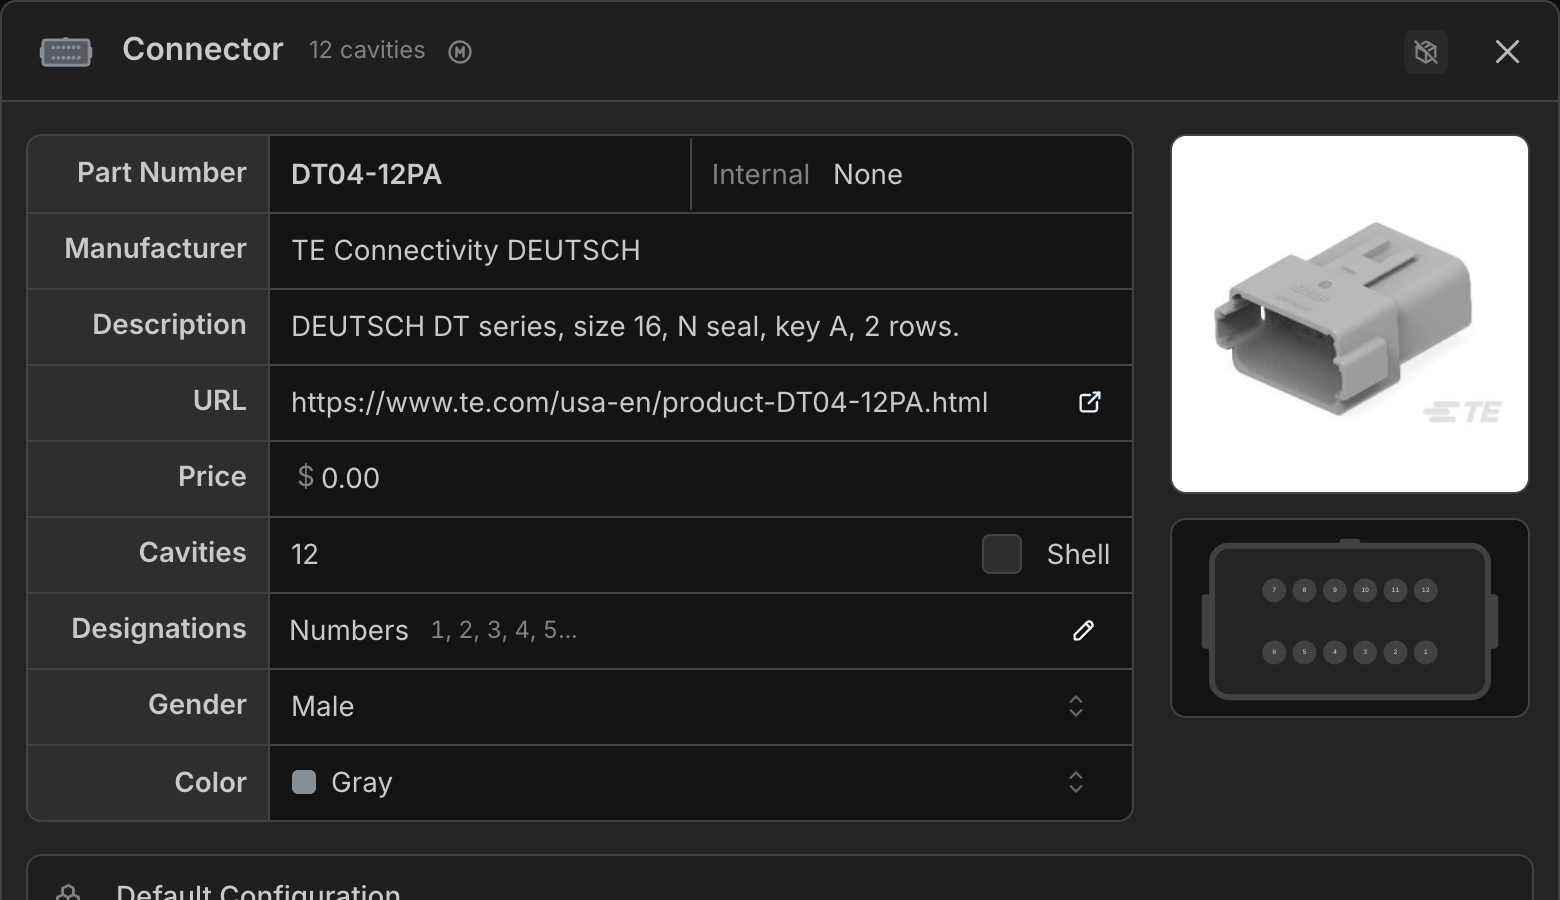
A connector part with a pinout shows it below the part image in its details, and in the Parts Catalog’s part details.
Assigning a Pinout to Your Own Part
A connector part you created yourself has no pinout to start with. Set its number of cavities, then open its details and click Assign pinout from catalog below the part image to pick one of the catalog’s pinouts. Only pinouts with the same number of cavities can be assigned, and the search starts filtered to that count.
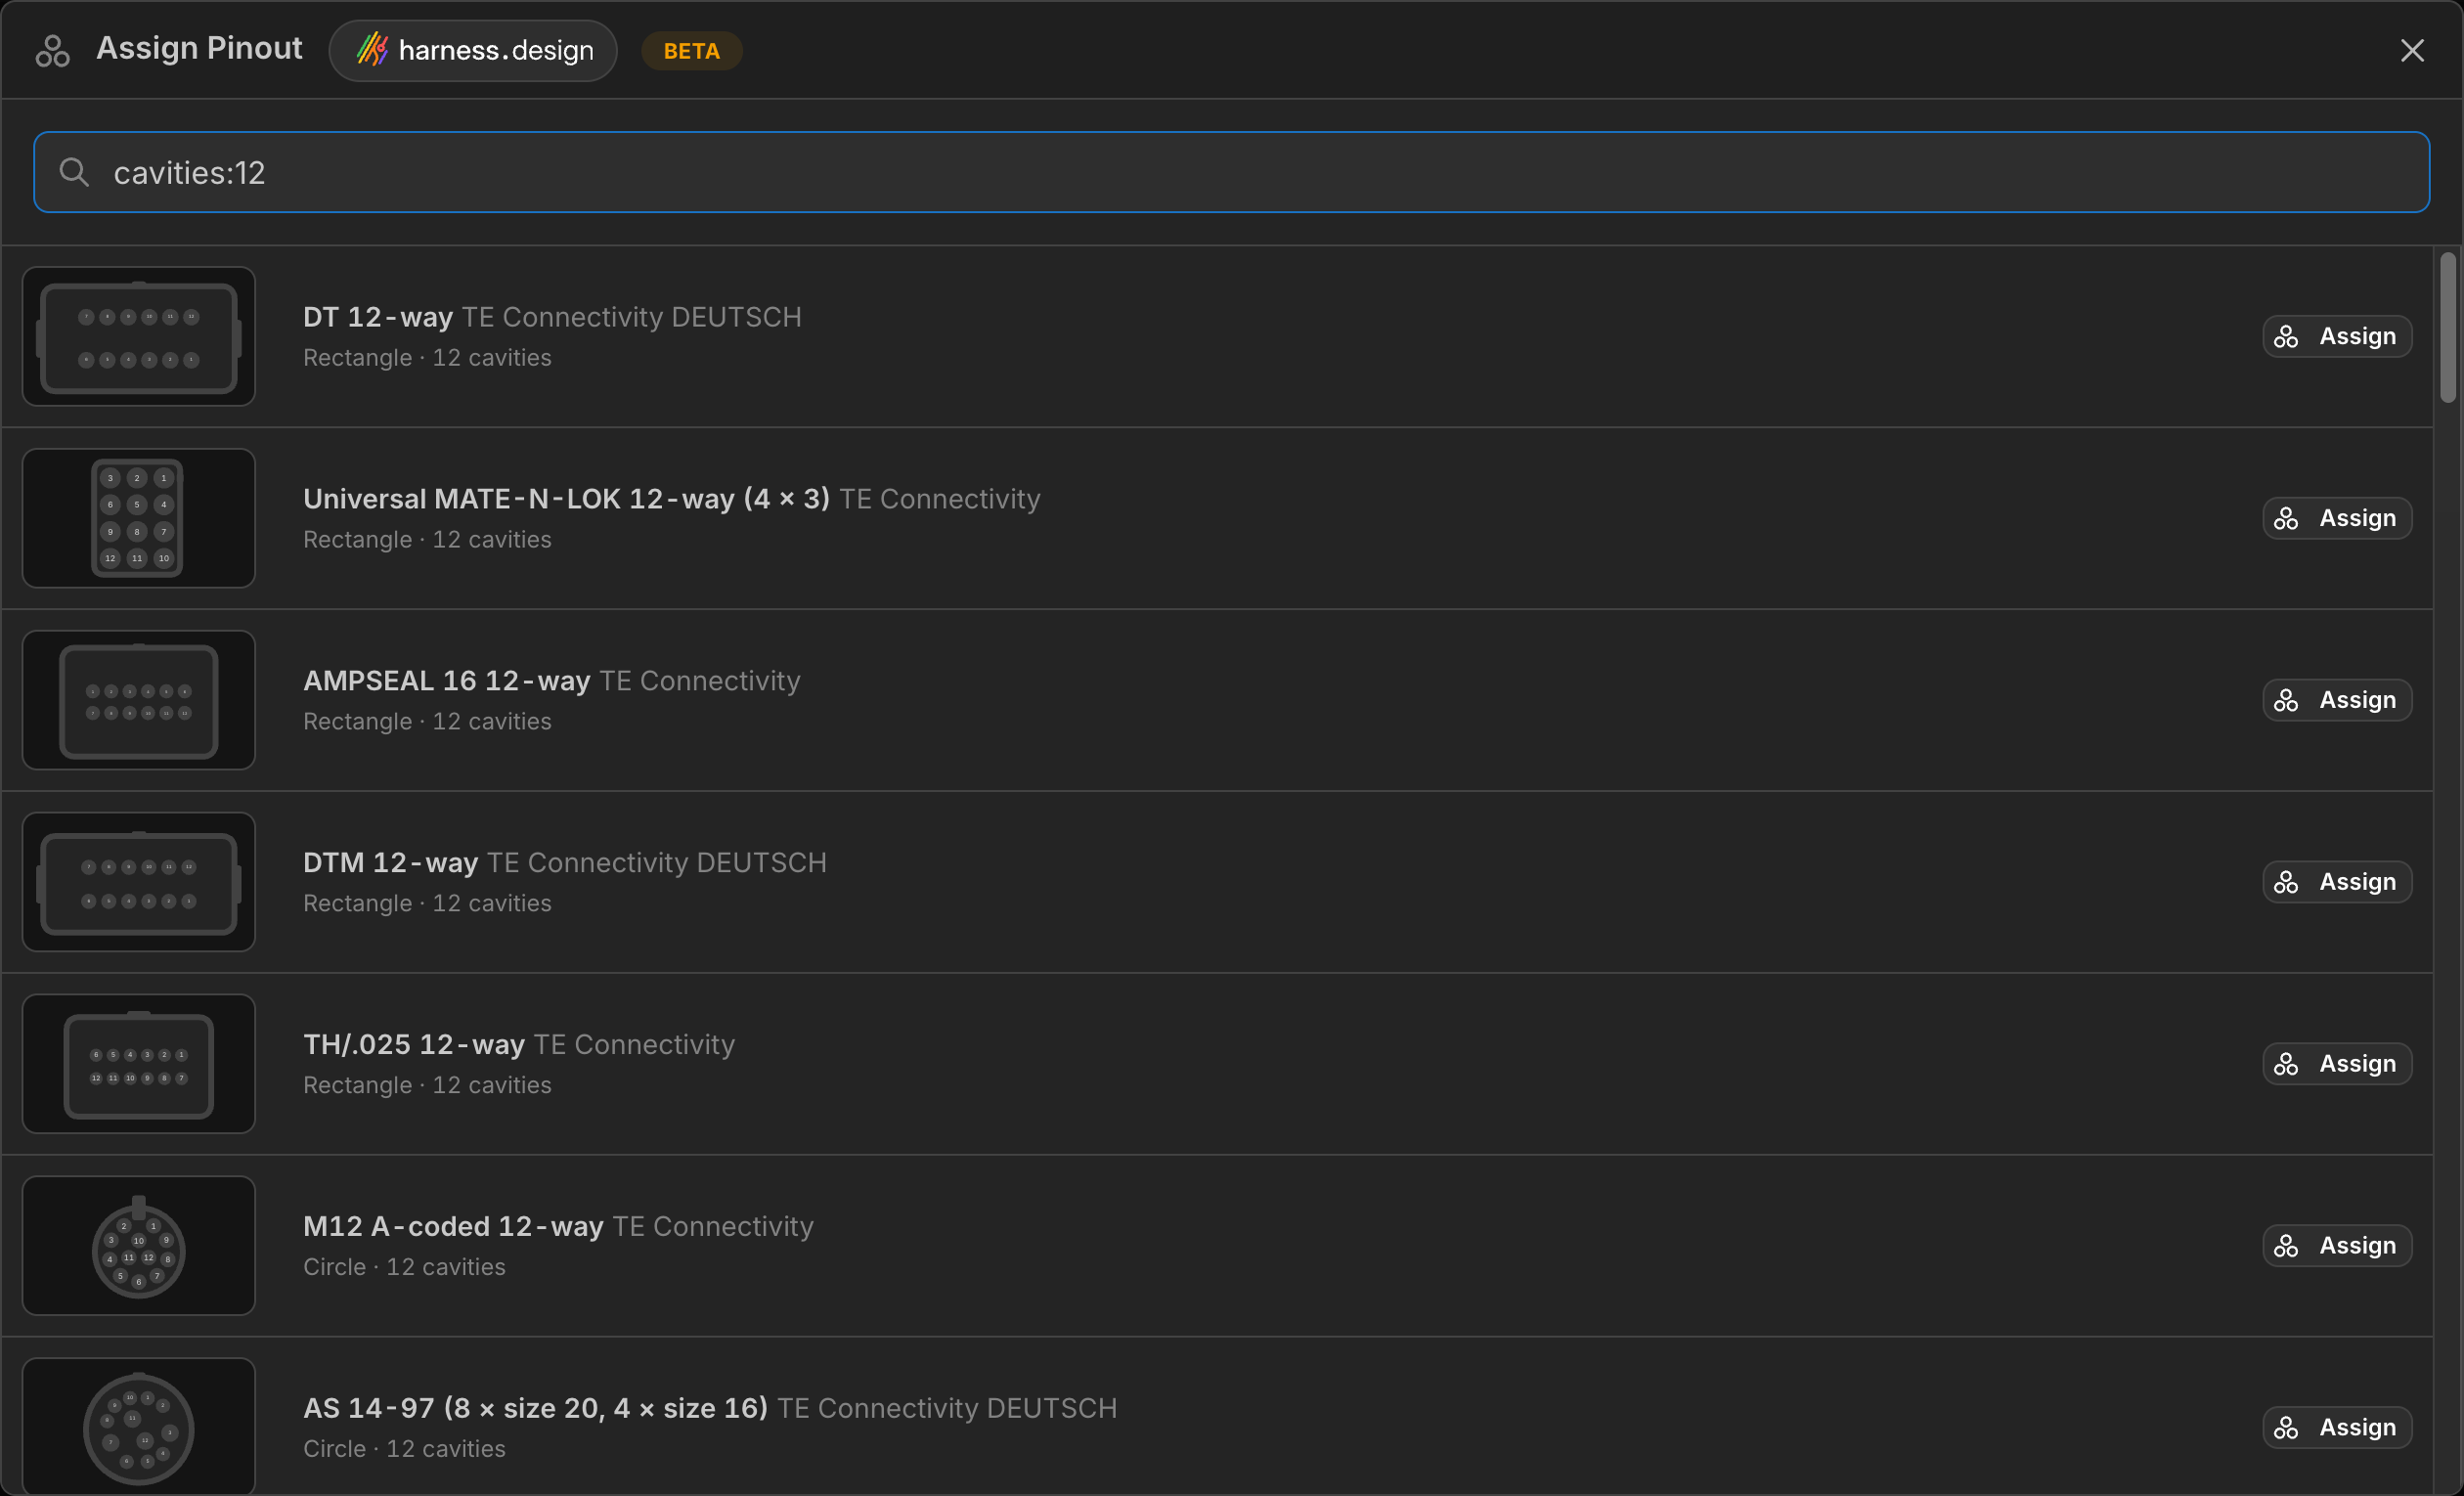
Search by the pinout’s name, its manufacturer, or the part number of a catalog connector that uses it, and narrow the list with cavities:, shape: (rectangle, oval, circle, triangle, trapezoid or irregular) and manufacturer: filters. Assigning a catalog pinout to your own part doesn’t change the part in any other way.
To swap a pinout, click the pinout in the part’s details and pick another. To remove it, hover the pinout and click Remove pinout. This works on parts added from the catalog too; updating a part from the catalog puts the catalog’s pinout back.
Export
Pinouts shown on a view are drawn in the PDF export of that view, in the same position and size as on the canvas.