Preferences
Open Main Menu → Preferences. Preferences apply to your account across every harness.
Appearance
Color scheme
The software supports both light and dark color schemes.
Light - Use the light color scheme
Dark - Use the dark color scheme
- Auto - Match the color scheme to your system setting
Wires
Show wire stripes as dashed lines toggles how striped wires are drawn. When on, stripes are shown as dashes along the wire for easier reading at a glance. When off, stripes run parallel along the wire’s length for a more realistic appearance.
Outline black and white wires draws a gray border around white wires in light mode and around black wires in dark mode, so they stand out against the canvas. It is on by default and applies to wires, cable cores and twisted wires in both the schematic and layout views.
Part bars
Choose what the part bars under components show. The same choices apply to the part labels in the PDF export.
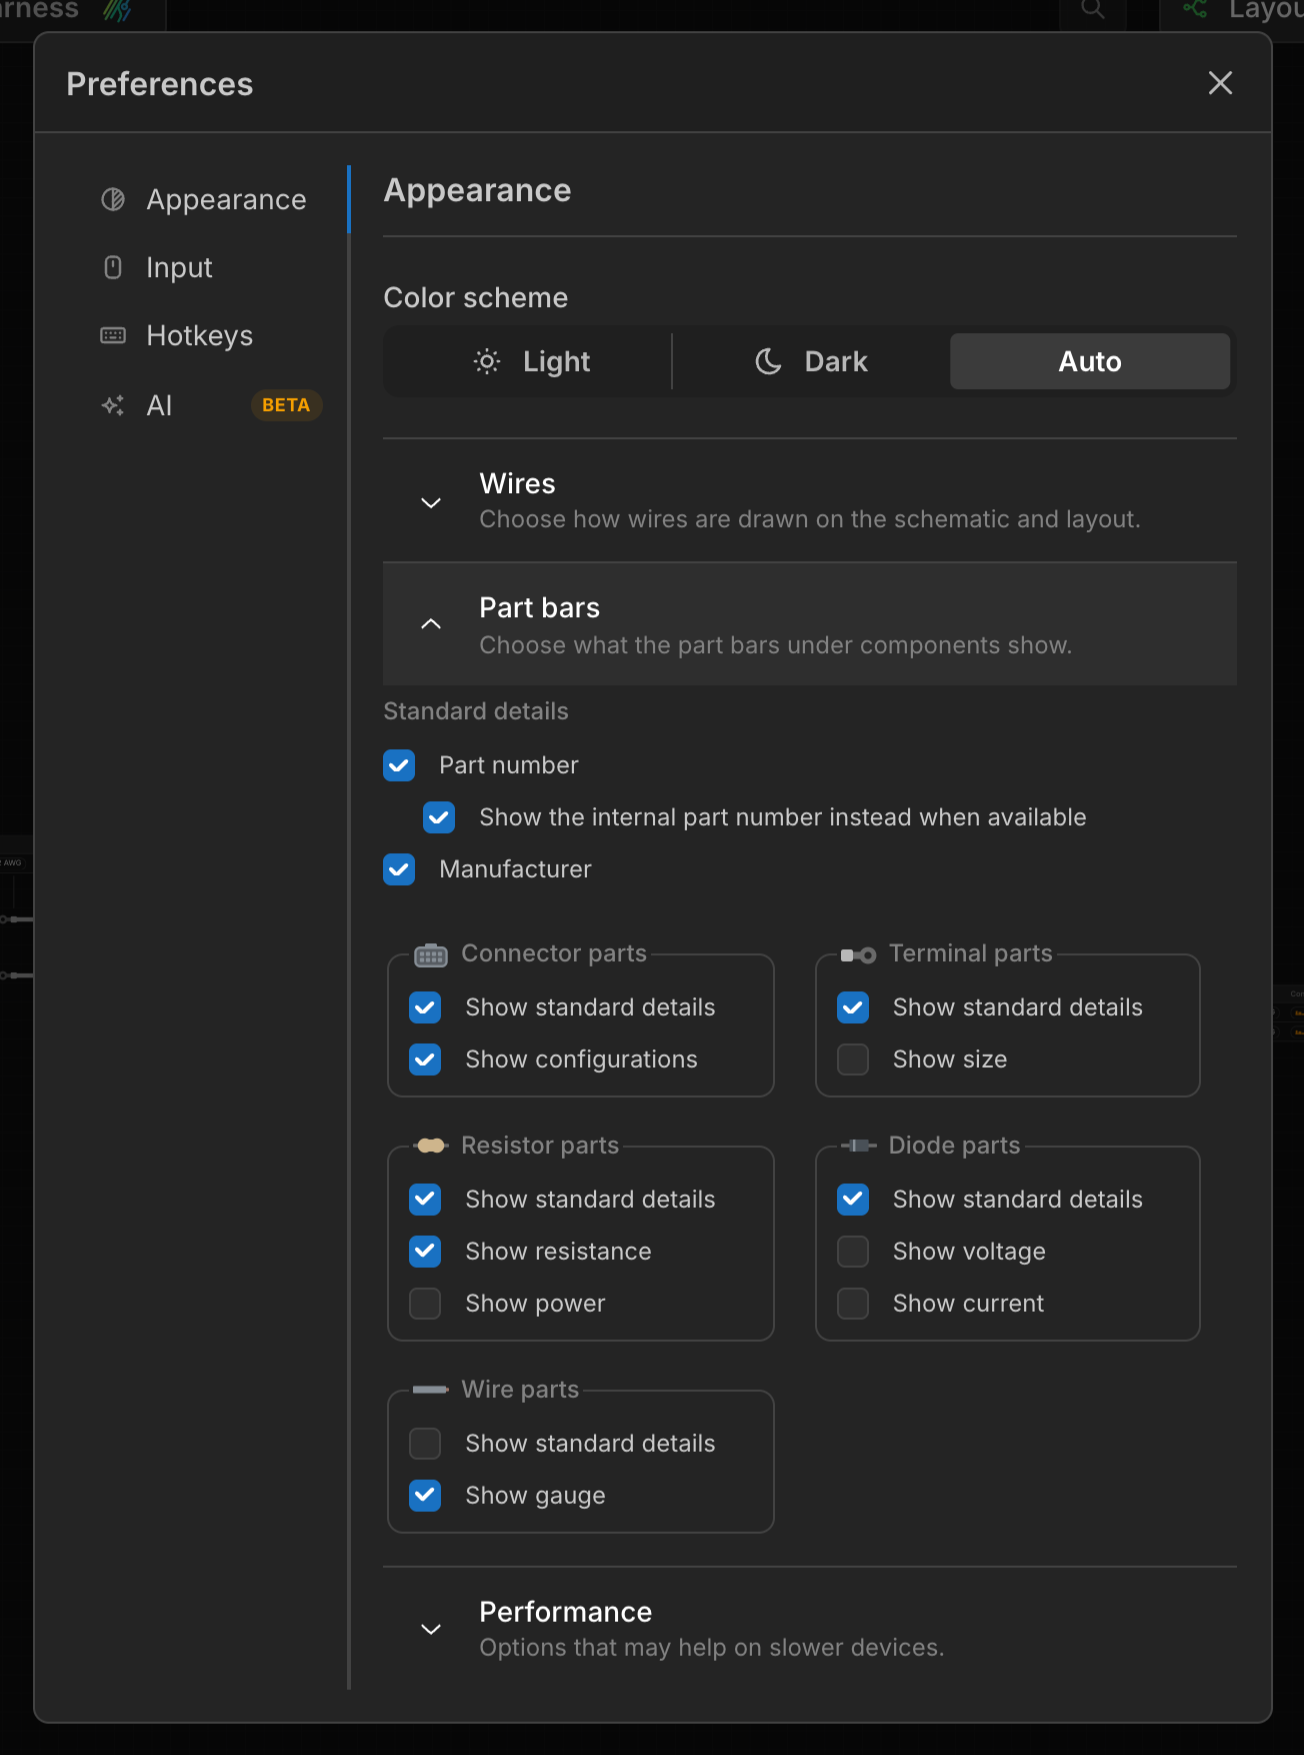
Standard details are the Part number and Manufacturer. When a part has an internal part number, it can be shown in place of the manufacturer’s part number.
Each part type can then add its own details, or hide the standard details and show only its own:
- Connector parts - The name of the configuration in use.
- Terminal parts - The terminal size.
- Wire parts - The gauge. By default wire part bars show only the gauge.
- Resistor parts - The resistance and power rating.
- Diode parts - The voltage and current rating.
Wiring tables
Choose which columns a wiring table shows when it is first added to the canvas. The Cavity and Terminal columns are always shown, and columns a component type doesn’t offer (such as Signal and Contact on anything but a connector) are left out of its tables.
Existing wiring tables keep the columns they have. right-click a wiring table to change its columns or to reset them to these defaults.
Performance
Only render visible components on the schematic screen controls whether the schematic view skips drawing components that are outside the visible area. It is on by default and may help with performance on some devices, especially for large harnesses. Turn it off if components appear to pop in while panning or zooming.
Input
Input type
Forces the software to interpret scrolling for a specific input device.
Mouse - Scrolling zooms the canvas. Click and drag the middle mouse button to pan.
Trackpad - Scrolling pans the canvas. Pinch to zoom in and out.
- Auto - Automatically detect the input device
Crosshair cursor
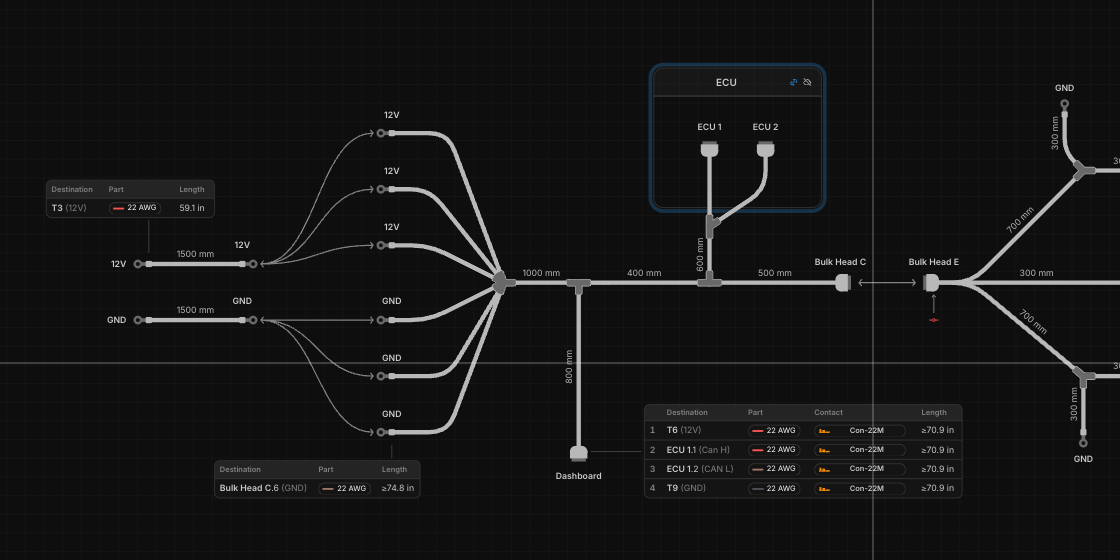
The Show crosshair cursor checkbox draws a horizontal and a vertical line through the cursor across the whole schematic or layout canvas, like the crosshairs in traditional CAD software. Use it to check that components line up with each other. Press H to toggle it while editing.
Hotkeys
A reference list of every keyboard shortcut available in the editor. Mod is Cmd on macOS and Ctrl on Windows and Linux.
| Action | Keys |
|---|---|
| Undo | Mod Z |
| Redo | Mod Shift Z or Mod Y |
| Fit to view | F |
| Focus search | Space |
| Clear selection | Esc |
| Open parts library | L |
| Open parts catalog | K |
| Delete | Backspace, Delete or X |
| Duplicate | Mod D |
| Rotate | R |
| Make conductors orthogonal | O |
| Select wires on net | S |
| Group | Mod G |
| Ungroup | Mod Shift G |
| Toggle destinations | D |
| Toggle net highlighting | N |
| Toggle part labels | P |
| Toggle coverings labels | C |
| Toggle dash undefined wire routes | U |
| Toggle dash empty bundles | E |
| Toggle inline components | J |
| Toggle component IDs | I |
| Toggle warnings | W |
| Toggle crosshair cursor | H |
Part Libraries
Desktop App only. Lists the local .harnesslib part library files on this computer. Every library listed here is offered to each harness you open, alongside your cloud libraries, and works offline.
New library… - Creates a new
.harnesslibfile and adds it to the list.Link existing… - Adds a
.harnesslibfile you already have, for example one kept in version control with your team.Open / Show in folder / Remove from this app - Each library’s menu. Removing a library only takes it off this list; the file stays on your computer.
A library whose file can’t be found any more is marked Missing until the file is back or you remove it.