Splice
A Splice connects two or more wires within the harness. Each Splice can be assigned a splice part.
Splices can be assigned Coverings.
Adding a Splice
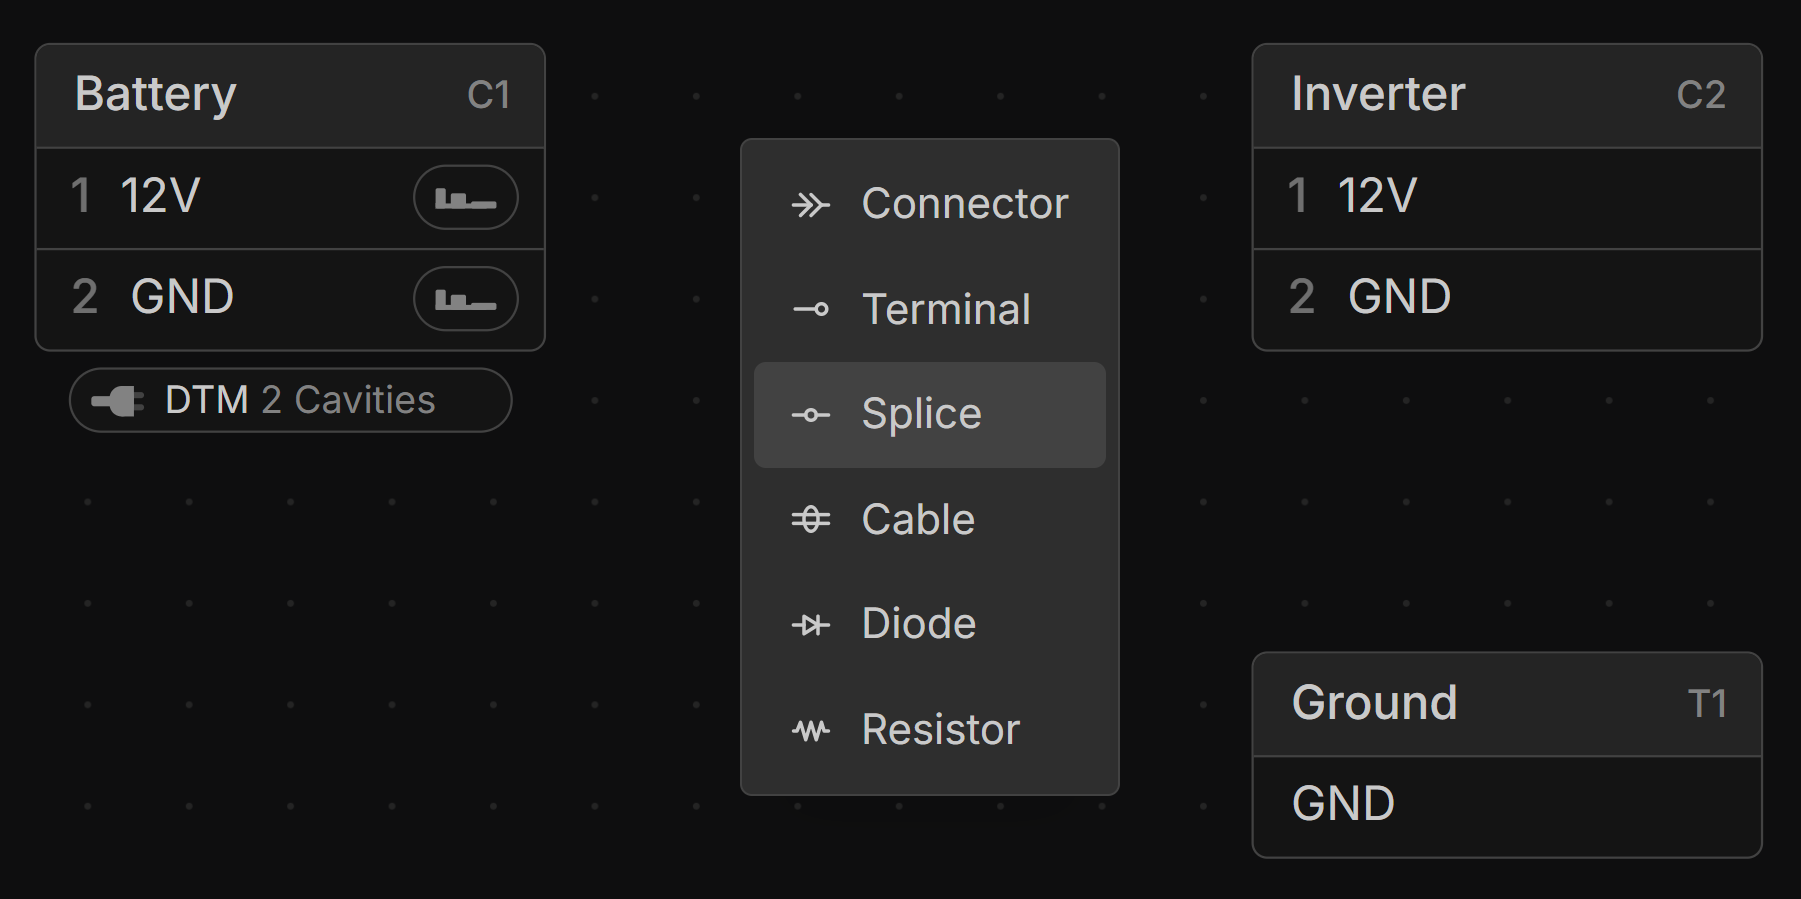
right-click on the canvas in the Schematic view and select Splice.
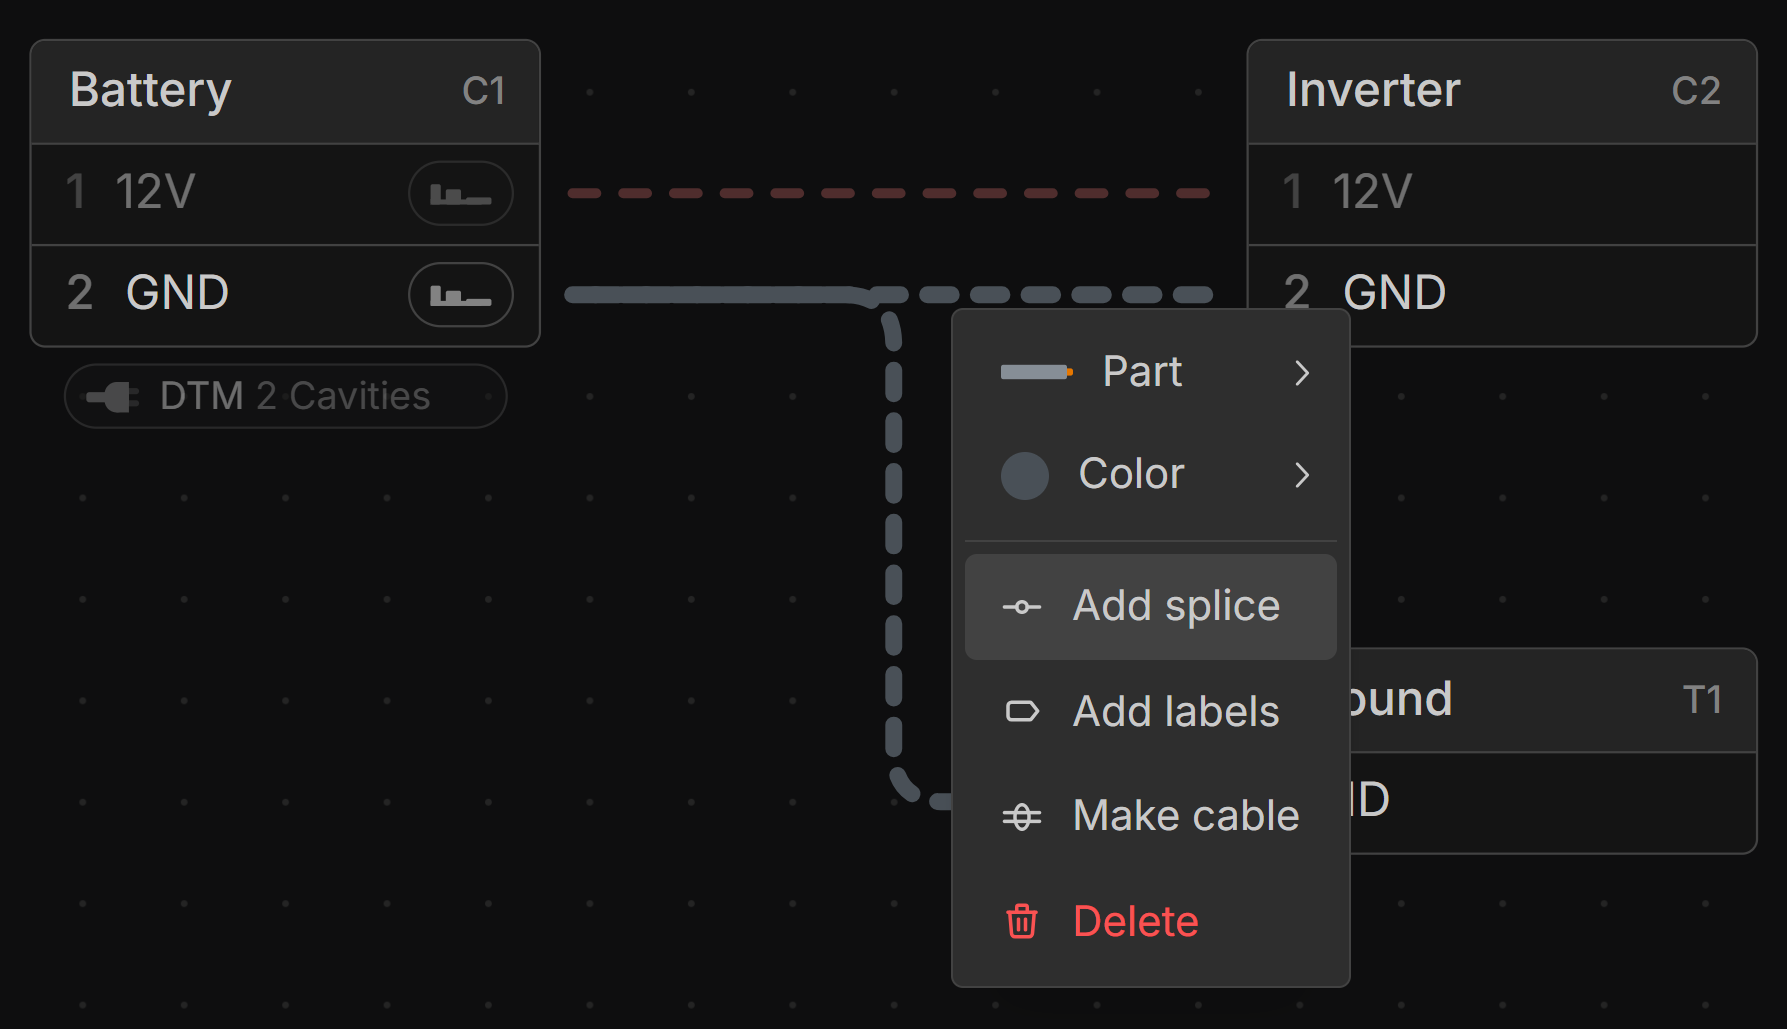
You can also add a Splice by selecting multiple wires in the Schematic View, then right-click and choosing Add splice.
You can also drag a Layout Point of an existing wire onto a Splice to split the wire there and connect both halves to the splice.
Deleting a Splice
Deleting a splice that joins exactly two wires merges them back into a single wire through the deleted splice. The surviving wire keeps its part, colour and coverings, and the layout points of both wires. A splice joining more conductors, or a cable core or twisted wire, is deleted normally and leaves the wires disconnected.
Locating a Splice
Splices are automatically positioned based on the most efficient wiring path. To position a Splice manually, drag its location handle in the Layout view to any Branch Point, Connector, or Terminal.
There is no official support for offset splices, however you can add additional branch points and assign the Splice to this branch point to achieve a staggered splice.
Viewing Splice Component IDs
To view the component ID of a splice on the Schematic and Layout views select Show component IDs in the bottom right corner of the view.