Image
An Image places a picture of your own on the Schematic or Layout view: a photo of the device a harness connects to, a drawing, a mounting reference or a logo. Images have no electrical meaning; they’re there to make the drawing easier to read.
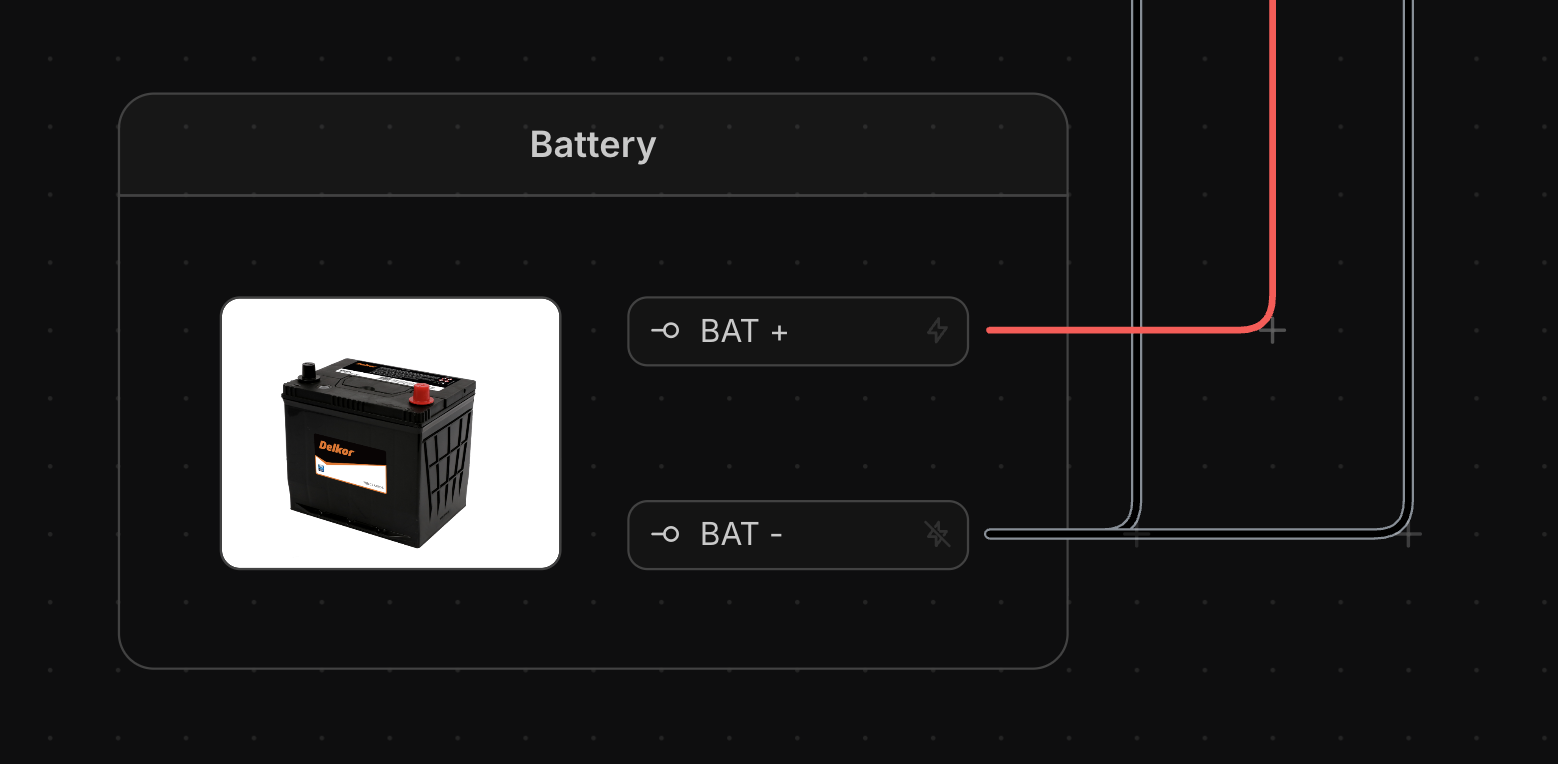
Adding an Image
right-click on the canvas and select Image…, then choose a file. The image is placed where you clicked.
You can also drag one or more image files from your computer and drop them onto the canvas. Each image is centred where you drop it; several images are placed side by side.
While an image uploads, a preview of it shows where it will appear. Once the upload finishes, it becomes a normal image you can select and move.
Images can be PNG, JPEG, WebP or GIF files up to 10 MB. They’re resized to at most 1024 px on their longest side when added.
Each image belongs to one view: an image added to the Schematic view doesn’t appear in the Layout view.
Adding images requires being signed in, except in a local .harness file on the Desktop
App.
Resizing an Image
right-click the image and use the − and + buttons on Width and Height to change its size one grid square at a time. Width and height are set separately, from 1 to 30 grid squares each. A new image is 5 × 5 grid squares.
The image always fills its frame without stretching, so when the frame’s shape differs from the picture’s, the edges of the picture are cropped. Change the width or height to choose how much is cropped.
Replacing an Image
right-click the image and select Replace Image… to choose a new file. The image keeps its position and size.
Grouping an Image
Images can be added to a Group like any component: right-click the image and open the Group submenu, either to create a new group or to move the image into an existing one. A group’s frame grows to fit the images inside it.
Where Images Are Stored
Images are stored with your account, in the same place as your part images, and count towards the same 250 MB of image storage. You can see and delete them under Account → Images. Deleting an image there removes it from every harness that uses it.
In a local .harness file on the Desktop App, an image is saved in the images folder beside the file instead, so it works offline. To move it to your account, right-click it and select Upload to Cloud. Images in a local file are uploaded automatically when you upload the whole file to the cloud.
Deleting an image from the canvas doesn’t delete the stored image, so it can be brought back with undo.
Exporting
Images are included in the PDF export of the Schematic and Layout pages, cropped the same way as on the canvas.