Destinations
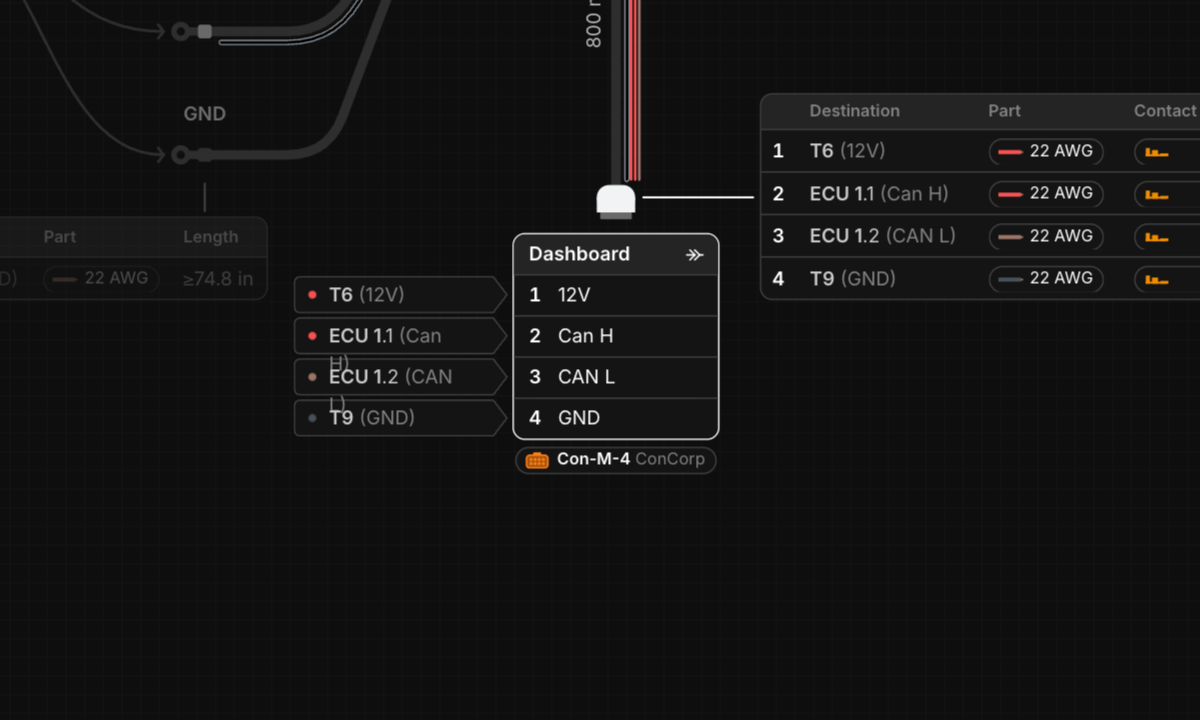
With Destinations enabled, clicking any cavity or terminal on the Schematic or Layout shows a destination label. Type a connector or cavity name to search the harness and instantly create a connection.
Enabling Destinations
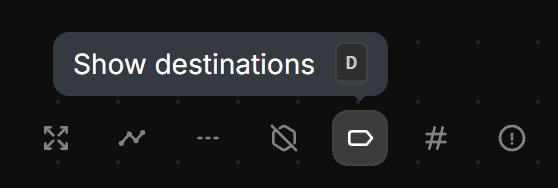
To enable Destinations, click the button in the bottom right of the schematic or layout view, or use the shortcut D. The setting is shared by both views.
Using Destinations
Select a component on the Schematic to reveal destination inputs next to each of its cavities. Click the input beside the cavity you want to connect, type a component or cavity name to filter results, then press Enter or left-click a result to instantly create a wire connection.
Destinations on the Layout View
Destinations work on the Layout view too. With Show destinations on, select a single connector or terminal and its label expands into the same box the schematic shows: the name, each cavity with its signal, and a destination input beside each cavity. Type a destination to create a connection without leaving the layout, and deselect the component to collapse it back to its label.