Parts
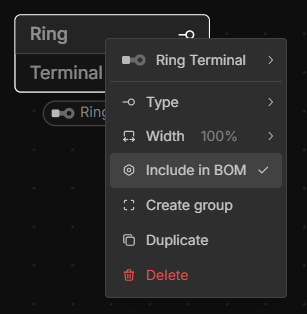
Parts are the physical items used in the harness—such as connectors, cables, and coverings. They are created and managed in the Parts View.
Each part can have specific properties like part number, manufacturer, colour, and more. Parts are assigned to components, and once assigned, relevant properties are automatically validated. For example, a connector part must have the same number of cavities as the connector component it is assigned to.
Adding Parts
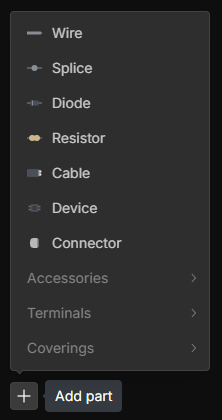
In the Parts View, right-click on the canvas or click the Add part button in the bottom-left corner to add a new part.
Creating Part from Component
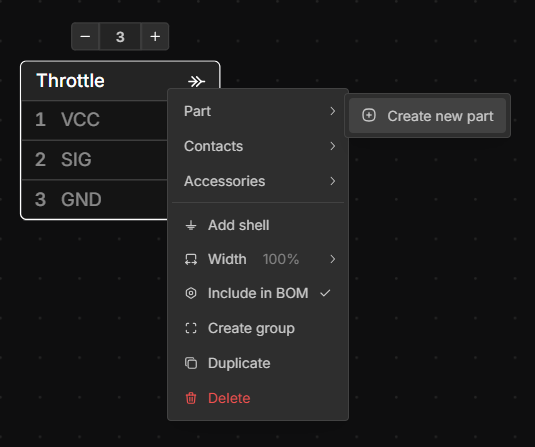
Parts can be created by right-click a component in the Schematic or Layout View and selecting Assign Part -> Create new part.
Adding Parts from the Parts Catalog
Real manufacturer parts can be added straight from the Parts Catalog instead of being typed in, complete with their properties and a part image. Press K to open it, or choose Search parts catalog at the bottom of any part dropdown.
Editing Parts
left-double-click on a part name or right-click the part and select the Edit to view and edit a part’s properties.
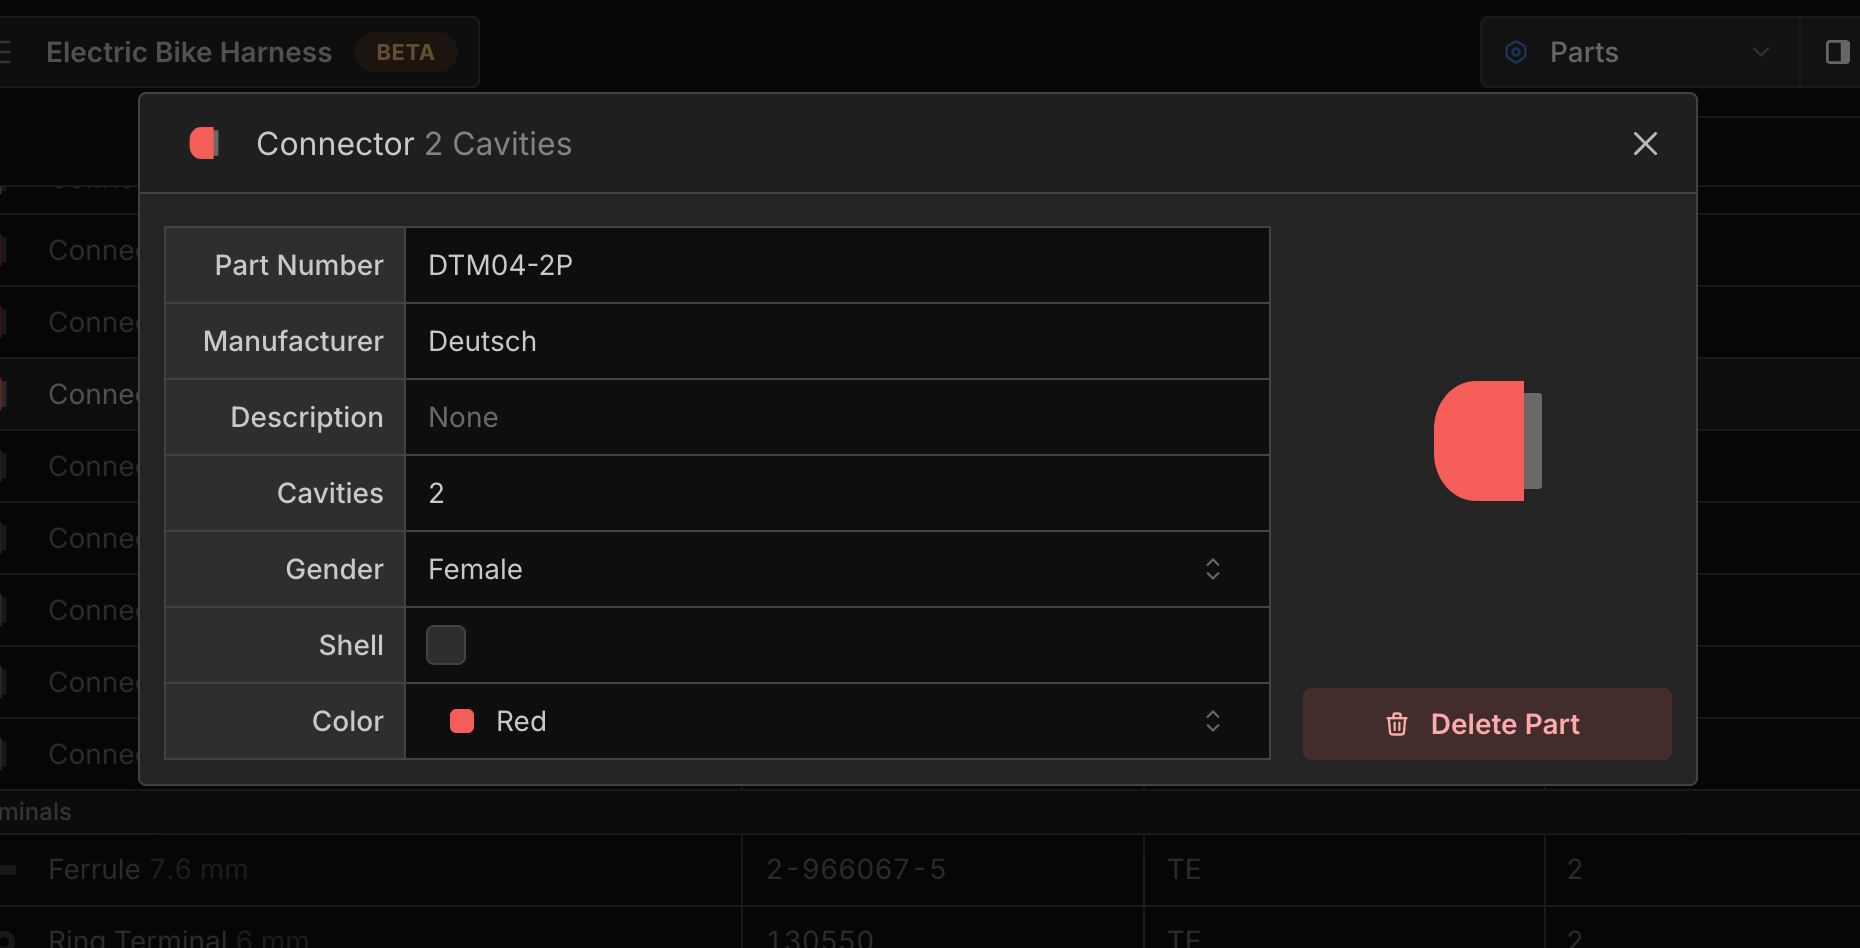
The Manufacturer field suggests the manufacturers already used in your harness and part libraries as you type, so the same manufacturer is always spelled the same way.
Internal Part Numbers
Besides the manufacturer’s part number, every part can carry an Internal Part No.: your own identifier for the part, such as a stores, ERP or drawing number. Enter it in the field beside the Part Number when editing a part.
The internal part number is shown in the part dropdown when assigning parts, and can be shown on the part bars under components in place of the manufacturer’s part number. Turn this on under Preferences → Appearance → Part bars. Parts are still matched between your harness and part libraries by the manufacturer’s part number.
Part Images
A part can have an image, shown in its details and in the Parts Catalog. Catalog parts come with an image already.
To add your own, edit the part and drop a PNG or JPEG image onto the image area, or click it to choose a file. Images are stored with your account and shared by every harness and library part that uses them; manage them under Account → Images. In a local .harness file on the Desktop App, the image is saved beside the file instead.
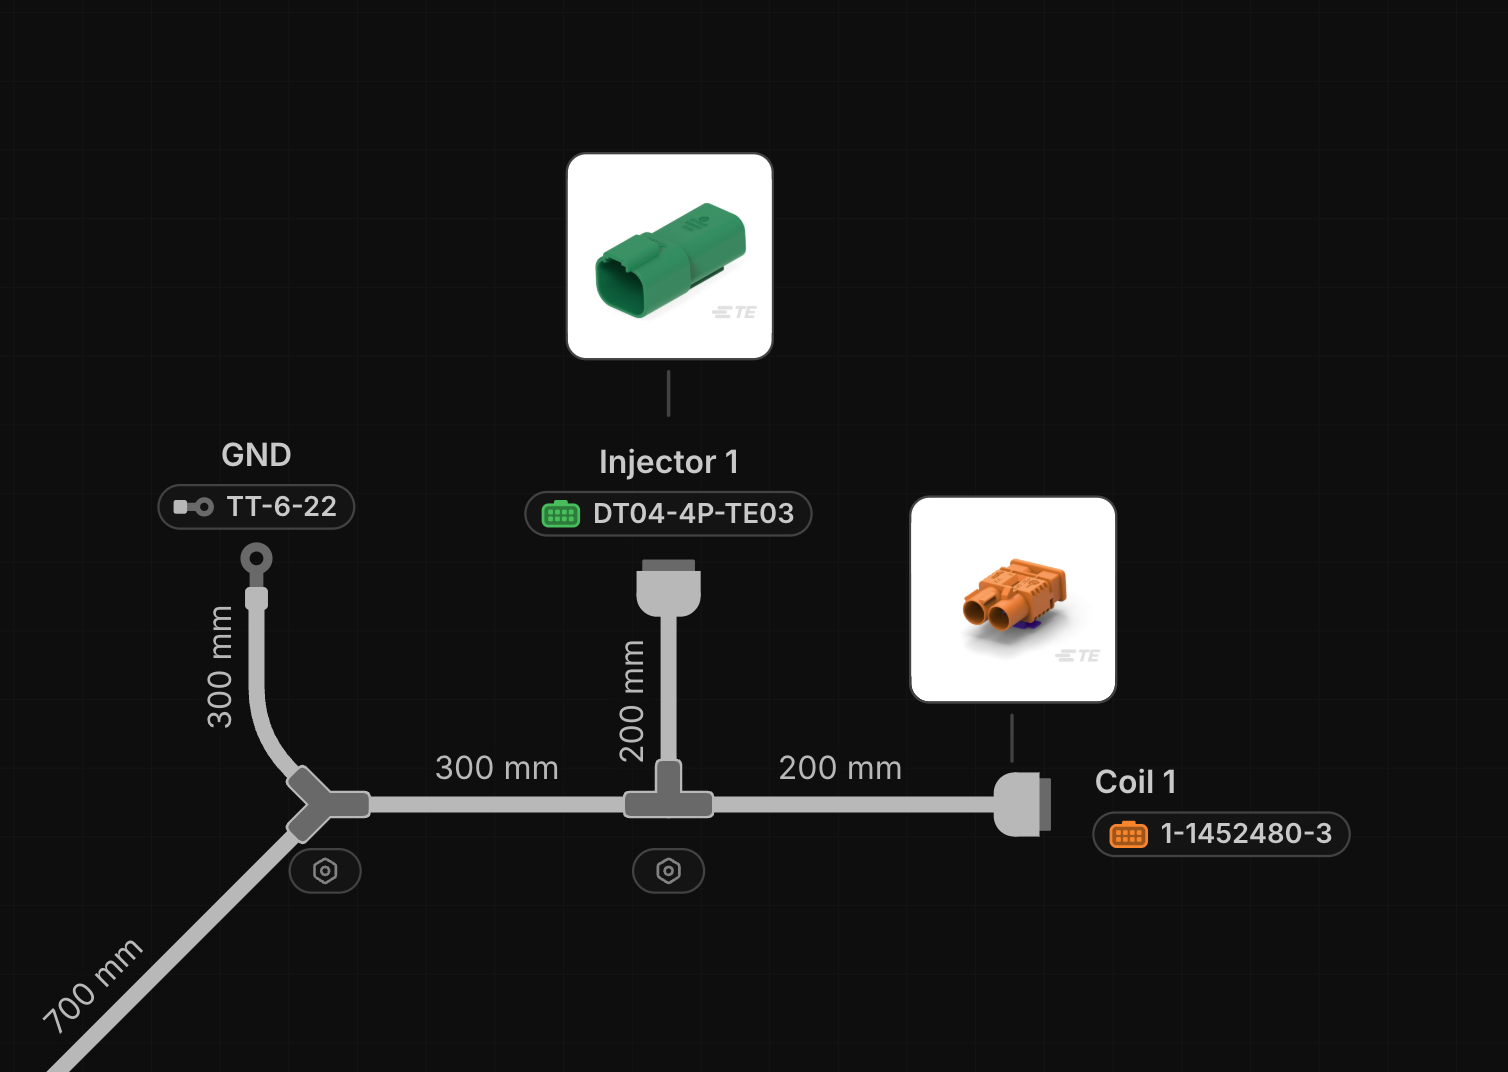
Showing a Part Image on the Canvas
right-click a component with a part assigned and select Show part image to place the image next to the component in the current view, joined to it by a tether line. left-click-drag the image to position it; it follows the component when the component moves. right-click the image to change its Size, or select Hide part image. Part images are drawn in the PDF export too.
Part images are per view: showing one in the Schematic view doesn’t show it in the Layout view. A part without an image shows the generated part preview instead.
Assigning Parts
right-click on a component in the Schematic or Layout and select Assign Part. Search for or select that part you would like to assign. The quantities shown in the Parts View will be automatically updated as you assign parts.
The dropdown lists parts that fit the component first, for example connector parts with the same number of cavities, or terminal parts of the same type, followed by the rest. Search results are ranked by how well they match, with matches at the start of a part number or manufacturer ahead of matches in the middle of a description.
Changing an Assigned Part
Once a part is assigned, the right-click menu shows the part in place of Assign Part, with its preview, part number and manufacturer. Click it to open the same dropdown and swap the part for another, or choose Unassign part, without unassigning first. When several components with the same part are selected, the change applies to all of them.
The visibility of parts can be toggled on the Layout and Schematic screens by
left-clicking
Show parts in the bottom right hand corner of the view.
Assigning Coverings
right-click on a component in the Schematic or Layout and select Add covering. Search for or select that covering you would like to assign. The quantities shown in the Parts View will be automatically updated as you assign parts.
The visibility of parts can be toggled on the Layout and Schematic screens by
left-clicking
Show coverings in the bottom right hand corner of the view.
Part Price
Part price can be entered by double clicking a part to edit it properties and setting the Price value. Parts that have a length can be assigned a length unit.
Total price of the individual parts and entire harness can be seen on the Parts view. Show the Unit Price and Total Price under the Columns menu.
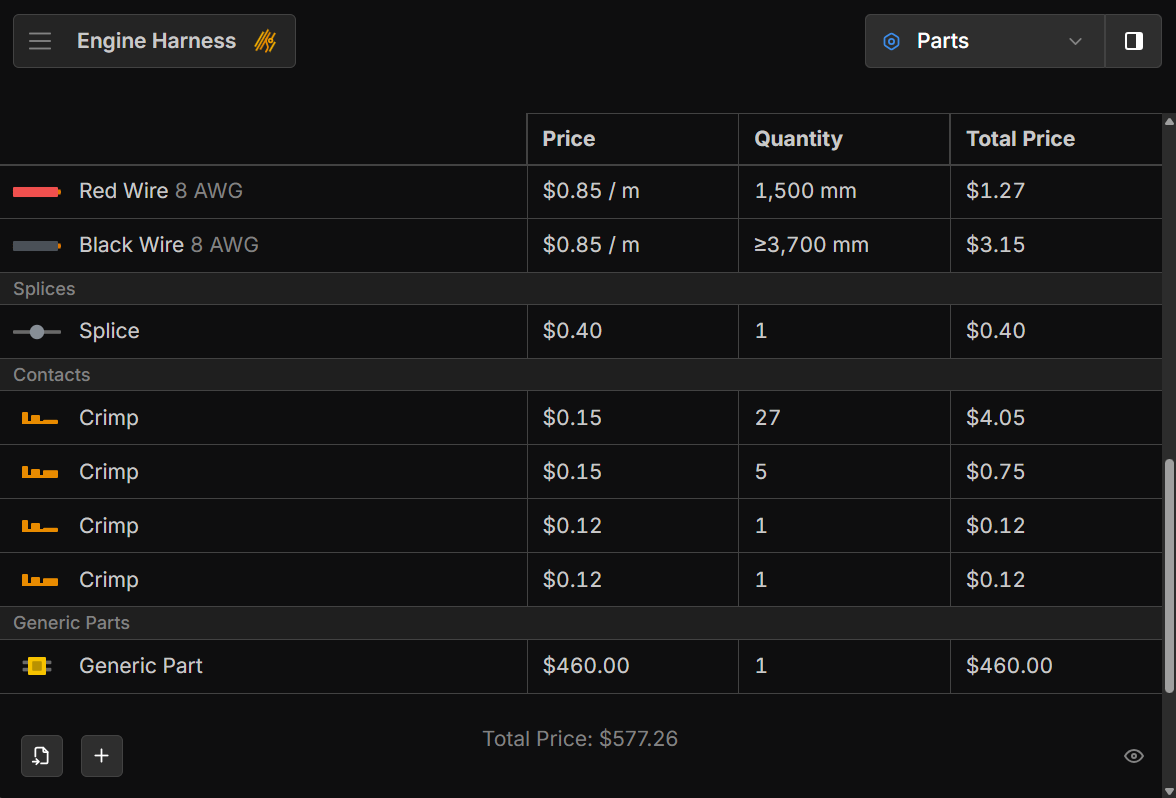
You can change the currency symbol used in the document by going to
Main Menu →
Settings →
Harness settings → Currency and selecting the desired symbol. Learn
more
Excluding Parts from BOM
Parts can be removed from the BOM by right-clicking a component in the Layout or Schematic View with a part assigned and selecting Exclude from BOM.