Group
A Group collects components into a named section of your harness. Use groups to represent a device the harness plugs into (an ECU, a fuse box, a sensor), or to organise a region of a larger harness (Front, Rear, Dash).
A group appears in both the Schematic and Layout views as a frame with a name header. Everything inside the frame belongs to the group, and the group moves, locks and hides as one unit. Groups can be nested inside other groups.
A group can also be linked to another harness document, so it stays in sync with it. See Embed.
Creating a Group
Select the components using shift left-click or left-click-drag selection, then right-click and choose Group → New Group.
Any Wires, Bundles and Mates that connect the selected components come along automatically.
To name the group, click its name in the header and type. The name shows in both views and prefixes nothing by default; a linked group’s name prefixes its components’ designators.
Moving a Group
left-click-drag the group’s header to move the whole group, contents included. Each view positions the group independently.
Moving the Header to the Bottom
right-click the group and choose Move Header to Bottom to draw the group’s name bar along the bottom edge of the frame instead of the top, for example when the top of the group is crowded by connections. Choose Move Header to Top to move it back. The header position applies to both views.
Adding and Moving Components
Select the component(s), right-click and open the Group submenu. Every group in the harness is listed; pick one to move the selection into it. A checkmark marks the group the selection is currently in.
Connections follow automatically: a wire between two members of a group belongs to that group, and a connection that crosses the group boundary belongs to the level that contains both ends. The owning group of each connection is shown in the Connections view.
Removing Components from a Group
Select the component(s), right-click and choose Group → Remove from Group. The selection moves up one level, out of its current group.
Ungrouping
right-click the group and choose Ungroup. The frame is removed and its contents stay in place, owned by whatever contained the group.
Ungroup keeps the contents; Delete removes the group and everything inside it, including nested groups.
Hiding a Group’s Content
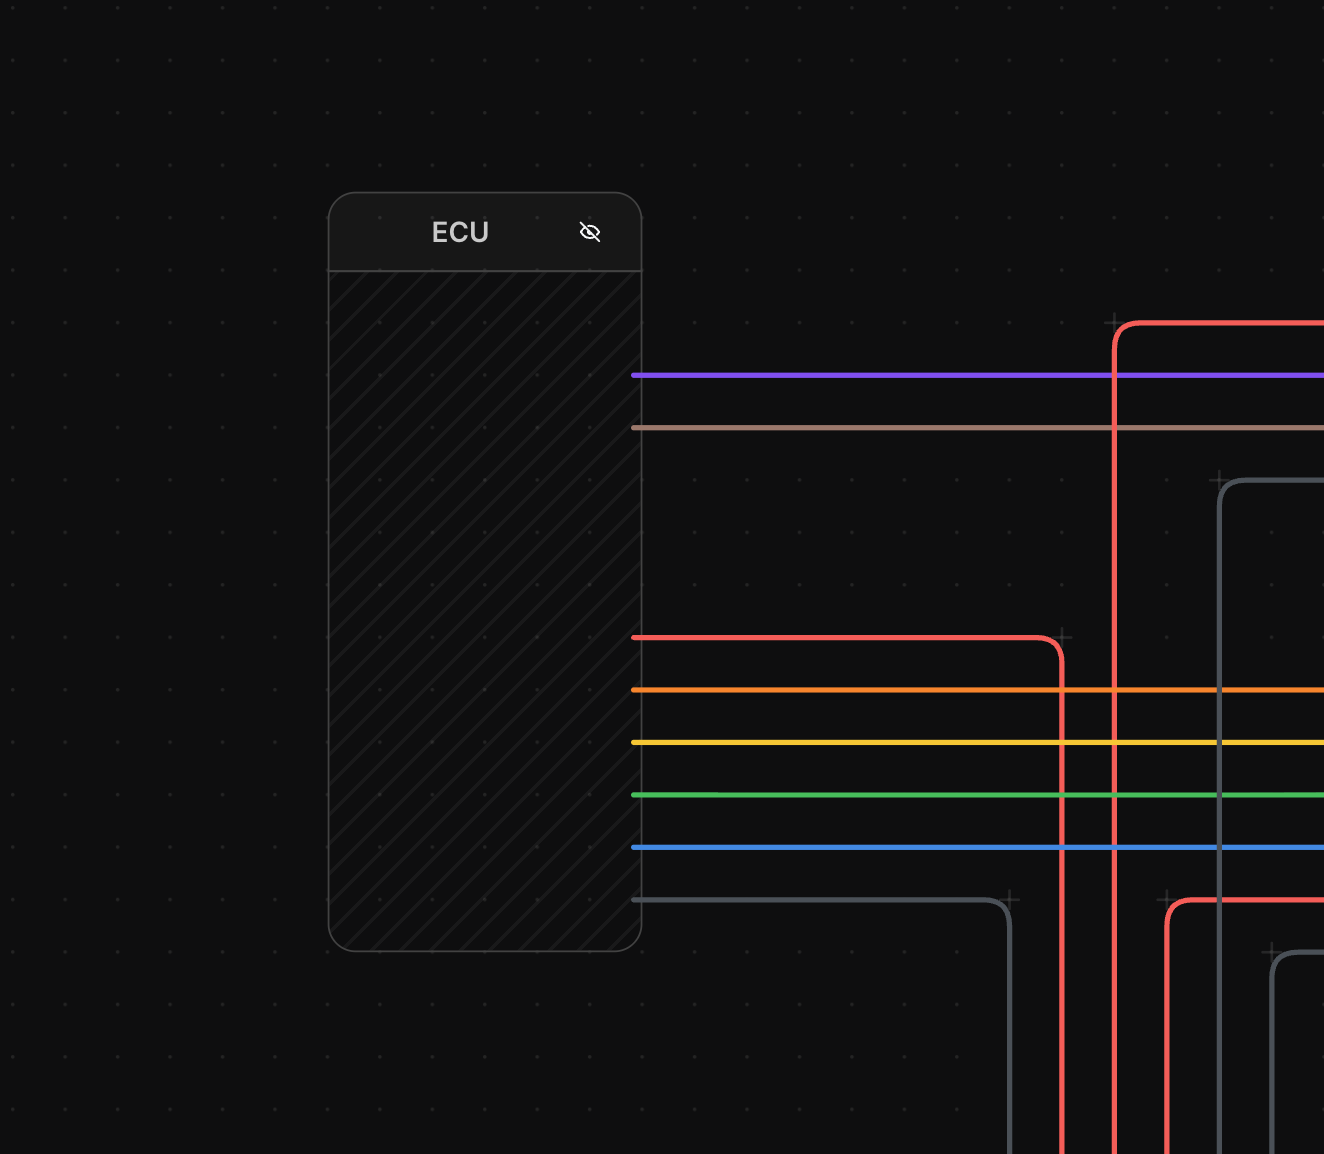
right-click the group and choose Hide Content to collapse it. The frame stays, drawn with a hatched fill, and its contents are hidden in that view. Connections from outside the group still terminate at the frame edge, so the rest of the harness keeps reading correctly. Hidden content is also left out of PDF exports of that view.
Each view collapses independently, so a group can be collapsed in the schematic and expanded in the layout. To expand it again, use Show Content, or click the icon in the group’s header.
Hiding the content of large groups also helps performance: the hidden components aren’t rendered at all, so collapsing the sections you aren’t working on keeps a big harness fast to pan and edit.
Showing the Frame in One View
right-click the group and choose Show Frame In → Both Views, Schematic Only or Layout Only. When the frame is hidden in a view, the group’s components still render there normally; only the frame and header disappear. This is useful for a logical grouping that matters in the schematic but would just clutter the layout, or vice versa.
Locking a Group
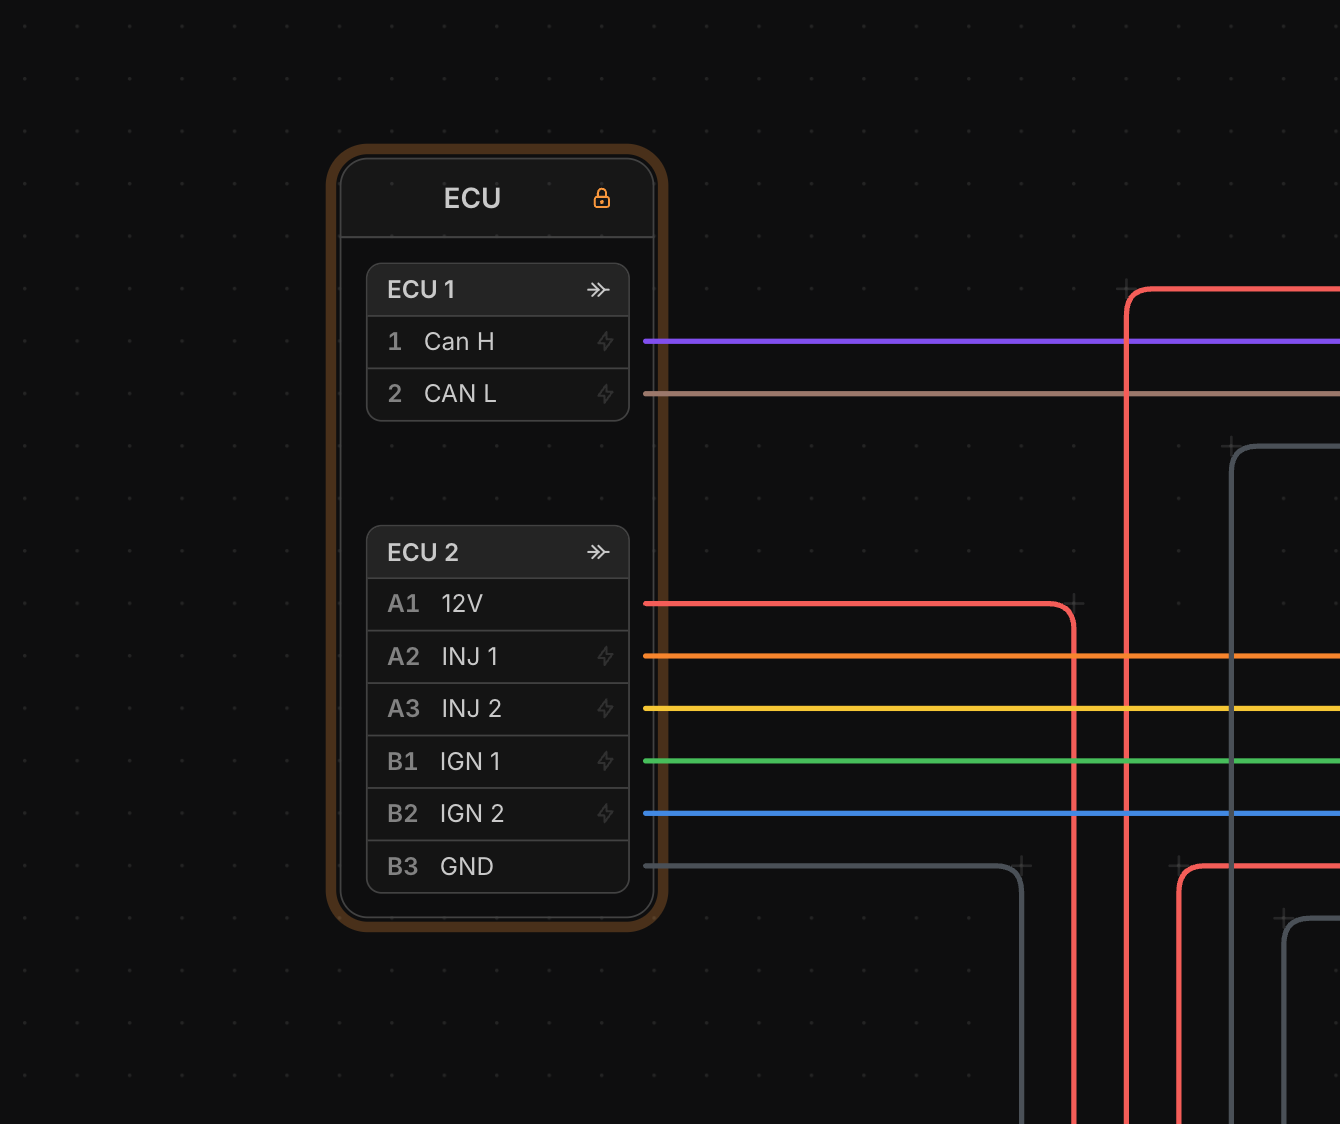
right-click the group and choose Lock. A locked group is marked by an orange ring around its frame and a lock icon in its header. Its contents are read-only: nothing inside can be edited, moved, rewired or deleted until the group is unlocked (click the icon in the header, or right-click → Unlock).
You can still connect to the group from outside: wires to its connectors and terminals, bundles to its connectors, and mates are all allowed. Connections that would pull content out of a locked group, such as a new wire to a splice inside it, are blocked, and those handles are disabled.
Assigning a Group Part
A group can be assigned a Group Part via right-click → Assign Part. This is how a device the harness plugs into gets a part number, price and BOM line, without modelling the device itself. See the Devices guide.
Linked Groups
A group can be created by embedding another harness document, or an existing group can be linked to one. Linked groups are marked with a blue ring and stay up to date with their source. See Embed.